This tutorial for using Wallpaper as Artwork contains affiliate links. As an Amazon Affiliate, I make a small percentage when these links are used, at no additional cost to you.
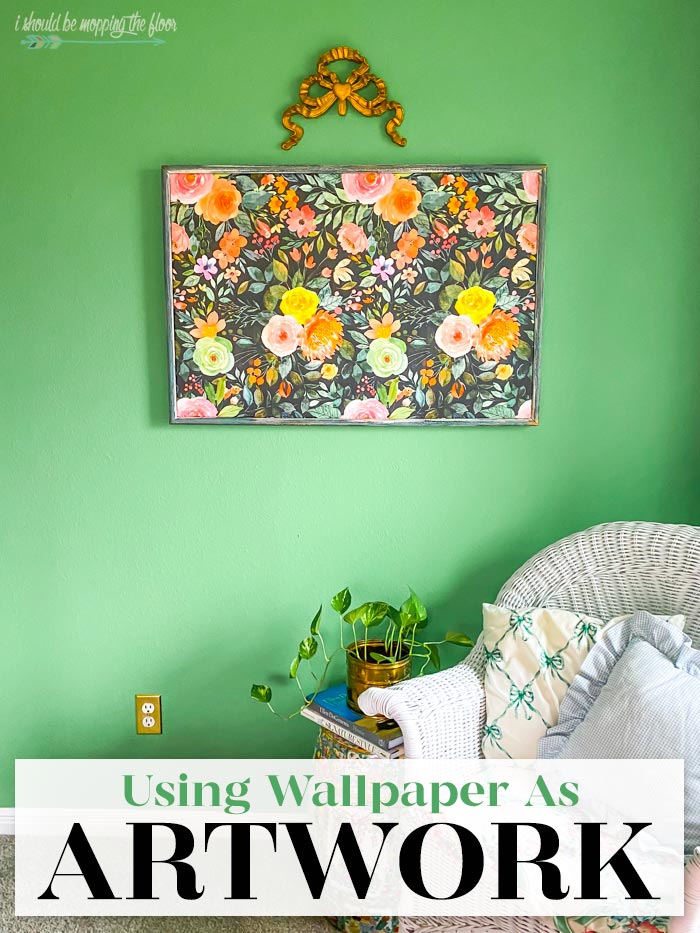
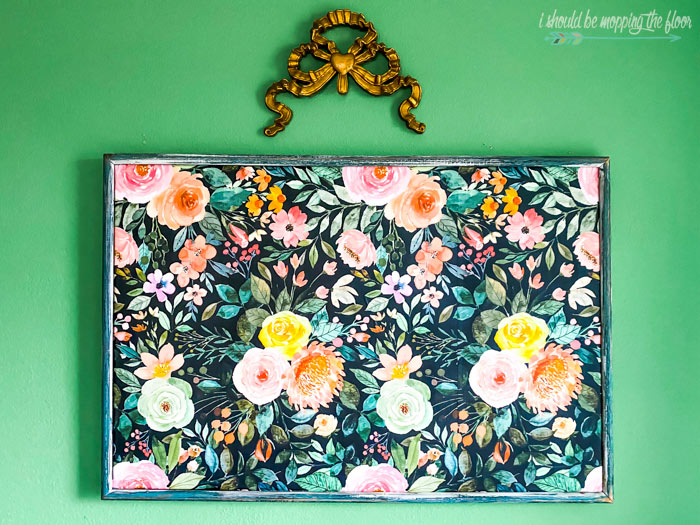
I've been struggling with this wall in our guest room for a while now. Lo and behold, I had the solution close by the entire time...in an old roll of wallpaper. See how using wallpaper as artwork can be a cost effective way to get a big WOW factor for your walls.
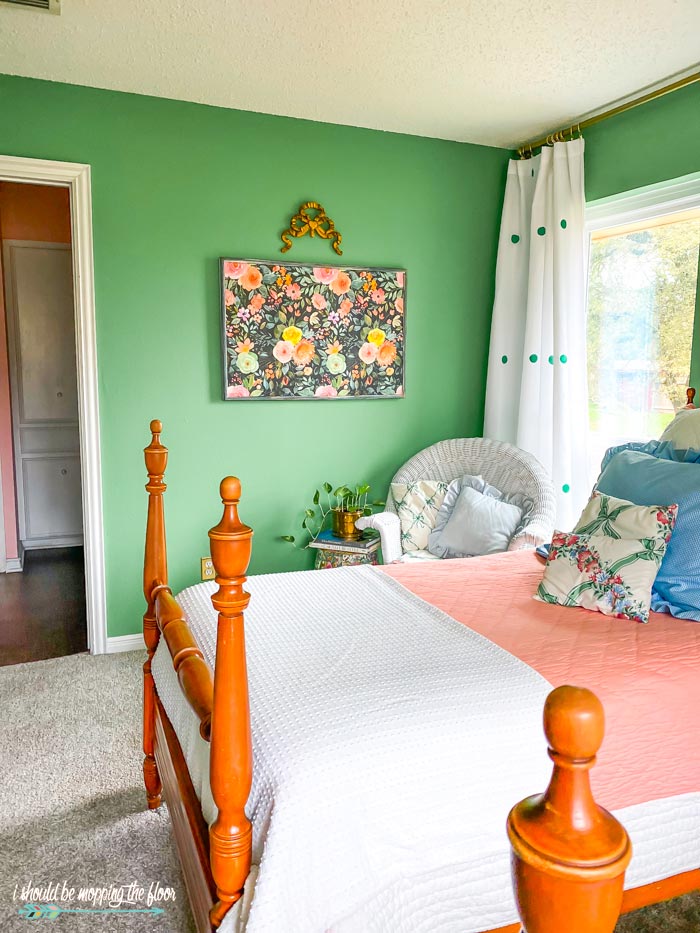
If you need some budget-friendly artwork that packs a big punch, peel and stick wallpaper is a great solution. I used a roll on an old framed canvas I had in the storage shed for some instant art for our guest bedroom. See how I put this piece together below.
Today is also our monthly installment of the Thrifty Style Team series. All of my friends have some wonderful (and budget-friendly) inspiration for you at the end of this post.
Using Wallpaper as Artwork
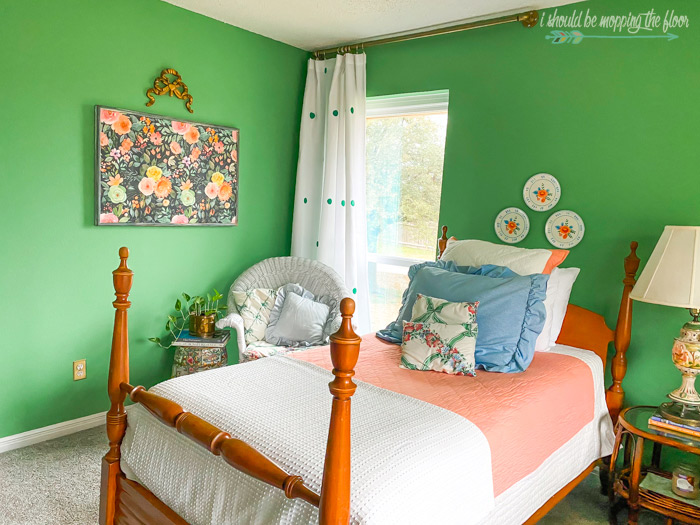
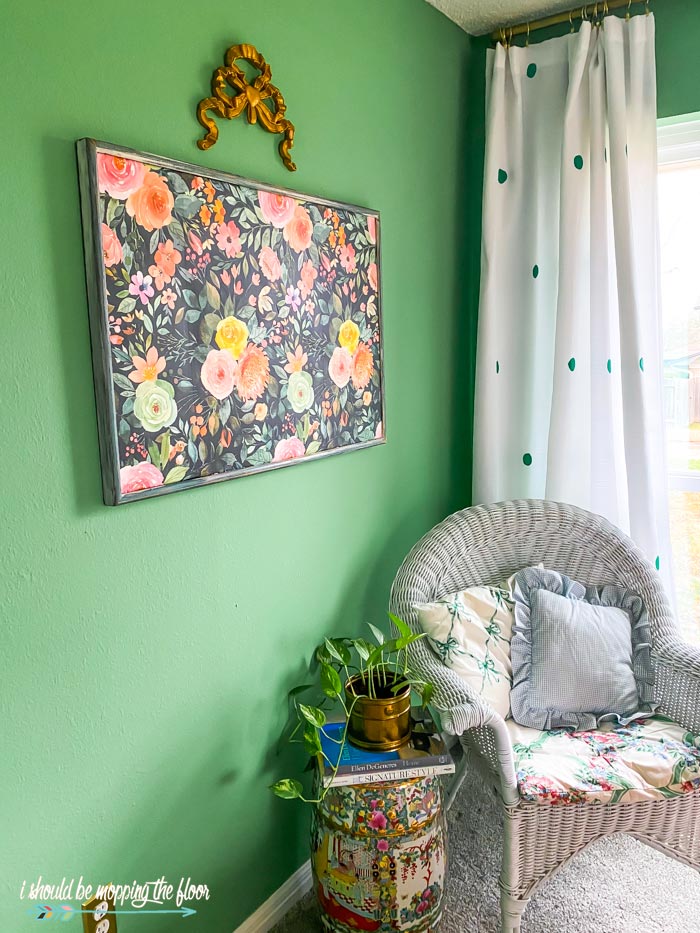
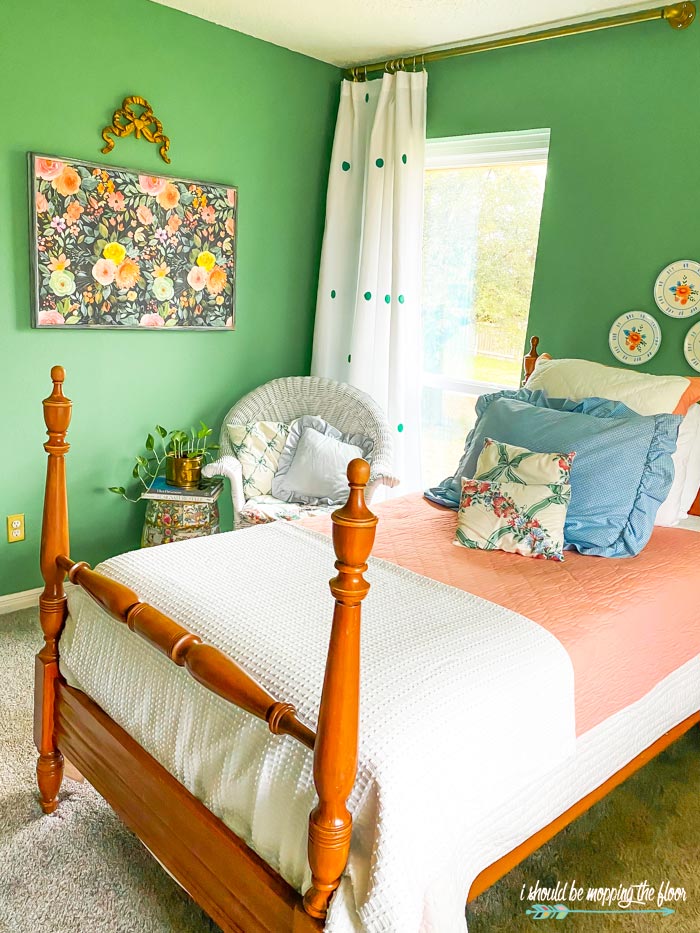
This wall in our guest room has had a number of things on it for a bit now...but nothing that really felt right. I wanted to strike the right balance between the fun plates over the headboards, the playful curtains, and the kelly green walls. And I really struggled with incorporating the coral from the bedding with the greens.
Using Up Leftover Wallpaper
I wallpapered this nook in our laundry room about a year and a half ago. When I was looking for the right wallpaper, I ordered two different rolls to decide between the two. I immediately knew I loved the bright floral one I ended up using. I loved the black one, too, but it seemed too dark for such a tiny nook. And it didn't have much blue in it for the rest of the walls to coordinate. Instead of returning the runner-up wallpaper, it sat in a hall closet until last week when I was in there digging for something else.
When I stumbled upon it, I quickly realized I wanted to try it as artwork. I recently watched a home tour on television where the homeowner found some gorgeous vintage Gucci wallpaper, but she only had one roll of it. She framed it and hung it in her living room. It was stunning! Finding that rogue wallpaper roll sparked my memory of that show and I knew exactly what I wanted to do with it.
On a side note, I will never wallpaper on my own again (except smaller scale framed pieces). But actual walls? That is not my gift. I'm so happy there is a large fridge and next to it a freezer that cover a multitude of sins in this nook. It's a disgrace, really.
Peel and Stick Wallpaper
The rogue roll is what you see above...and what landed on my canvas. It's actually peel and stick wallpaper. If you don't have the right walls, peel and stick wallpaper isn't the best wall covering (I'm still not sure my laundry room had the "right" walls), but I really enjoyed it for this smaller project. This pattern is still available here on Amazon (it's called Camellia on Black).
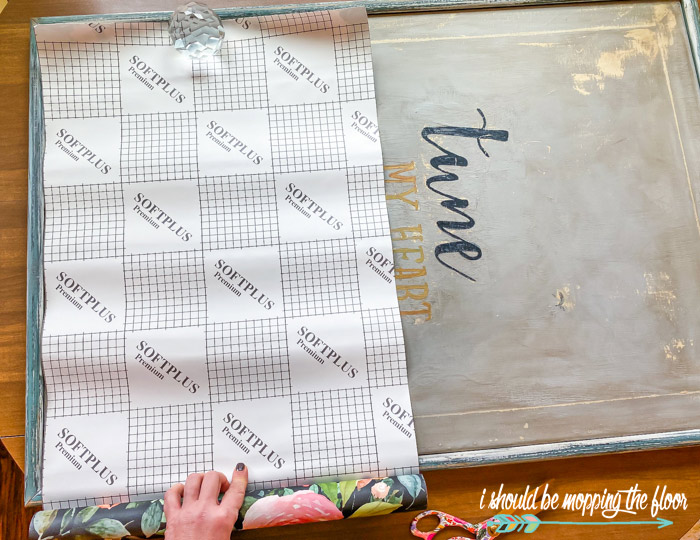
Above is the canvas I used. I actually created it myself a number of years ago (you can see that tutorial here). I've phased out a lot of my DIY pieces in favor of special family items I inherited from my parents after their deaths in the past couple of years. While I still like this canvas, I didn't have a vertical spot for it anymore. Using the peel and stick wallpaper on it means I can always take the wallpaper off of it if I ever want to put this piece back in circulation.
How to Use Wallpaper as Artwork
- I started by cleaning my canvas thoroughly (it was a bit dusty).
- You'll also want to measure your canvas (or whatever surface) to make sure the amount of wallpaper you'll need. I used less than a roll for my project.
- Then I rolled out my wallpaper and eyeballed about where it needed to be cut. I did a simple cut with scissors, leaving a bit of extra paper, just in case. I do like that peel and stick wallpaper has gridlines on it...it's like using wrapping paper.
- I adhered my first piece (just peel off the backing and apply it to the surface). Then I used the smoothing tool from my Silhouette all over the piece that I applied. You can also use the side of a credit card. I just wanted to remove all air bubbles.
- The paper is pretty forgiving and I did peel back one section to reposition it, without an issue.
- For the next strip, I did have to line up seams. This was a lot easier doing this on a canvas, rather than on a vertical wall!
- After my seams lined up, I cut that piece, removed the backing, and applied it to the canvas, too.
- Again, I used my smoothing tool to remove air bubbles.
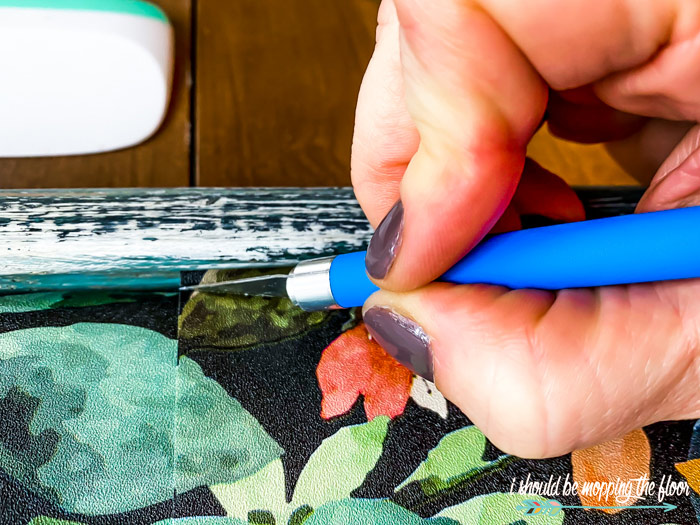
- Once I had all the paper adhered to the canvas, I took an X-acto Knife and went along the edge of the canvas, next to the frame, and trimmed the excess.
- I originally thought I'd paint the frame, but I ended up liking how it looked with the pattern and colors of the wallpaper.
I'm still not 100% sure on the gold bow, but it does kind of fit with the rest of the granny vibe in the room. Jury is still out on it.
I'm so happy to have a nice bold piece on this wall now! I made the polka dot drapes, as well. See that tutorial here.
Thrifty Style Team Projects
As I mentioned above, today is also our Thrifty Style Team day. The links below will take you to more FABULOUS ideas for decorating on a budget. A BIG thanks to our fearless leader, Julie from Redhead Can Decorate, who put this group together years ago and still manages it! She's the best!
- Redhead Can Decorate - How to Make a Fake Orchid Look Real
- Our Crafty Mom - Simple Bench Makeover with a Boho Vibe
- The How to Home - Turn a Plastic Container Into a Cute Planter Pot
- DIY Beautify -How to Make Chenille Hearts
- 2 Bees in a Pod - DIY Chinoiserie Balls
- Songbird - Best Flowers For Home Decor
- My Family Thyme - Spring Dollar Tree Pizza Pan Wreath
- Simple Nature Decor - How to Decoupage Easter Eggs
- Zucchini Sisters - Dollar Tree Spring Wreath
- Sonya Burgess - Budget Friendly Art
- Exquisitely Unremarkable - Thrift Store Glass Vase Makeover
- A Life Unfolding - Turning a Jar into a DIY Terrarium
Well, I guess the guest room is *officially* done (finally!). You're all invited over.








Any guest would be more than happy to stay in this colorful and beautiful room! The wallpaper artwork is perfection and looks fabulous. Great idea!
ReplyDeleteAdorable! I just wallpapered our family room and I have rolls just sitting in a box. Thanks for the great idea.
ReplyDeleteChoosing that wallpaper for your room was genius. It has all the right colors and really complements the design. Great job.
ReplyDeleteI love wallpapering and you did a fantastic Job, matching up the seams and all. Looks beautiful
ReplyDeleteThis turned out absolutely gorgeous! This is a brilliant idea Kristi. I have been completely inspired! This is so much more affordable than buying a canvas print. Man you really got me thinking now!!! PS I love your laundry room that was so smart and the curtains in the bedroom with that gorgeous brass rod!!! ~ Julie
ReplyDeleteWhat a lovely way to add color to your guest room!
ReplyDeleteI love the pattern you chose! So bold and perfect for your room. xo
ReplyDeleteI love how your art turned out and it is beautiful. Great idea to use wallpaper and an old canvas
ReplyDeleteWhat a great idea, Kristi! I love the pattern you chose. The colors in your beautiful DIY art work are perfect for your room. Pinned!
ReplyDeleteWhat a perfect way to use up extra wallpaper! I did something similar with fabric and painter's canvas. It's a great way to decorate on a budget. Thanks for sharing! Pinned :)
ReplyDeleteRebecca (Zucchini Sisters)