This post for Easy Fabric Pumpkins contain affiliate links. I make a small portion when these links are used, at no additional cost to you.
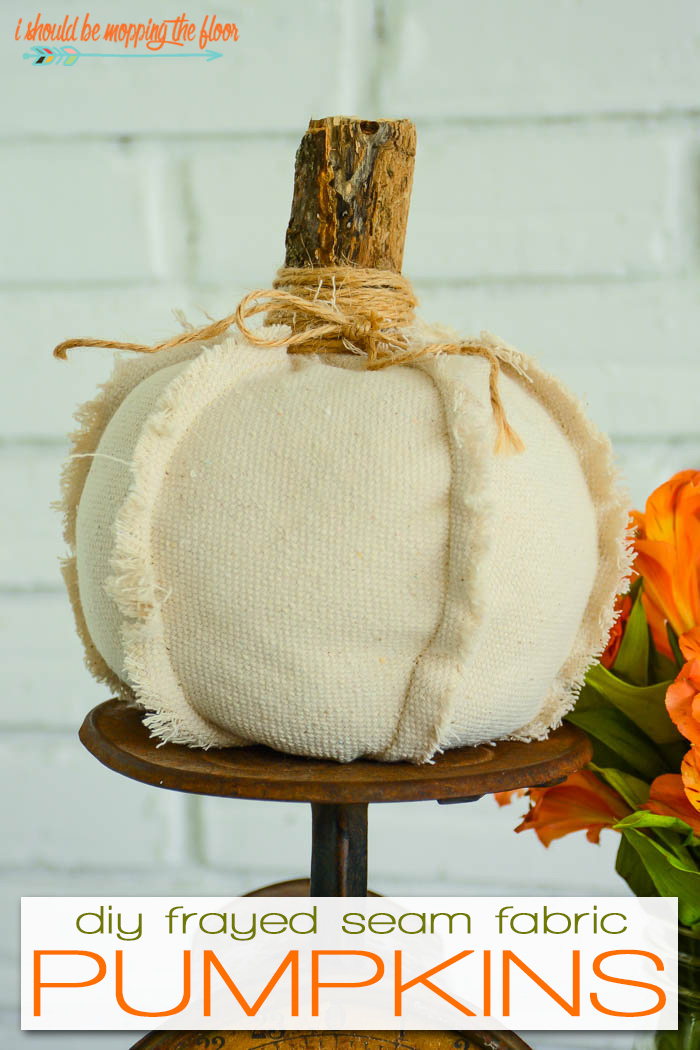
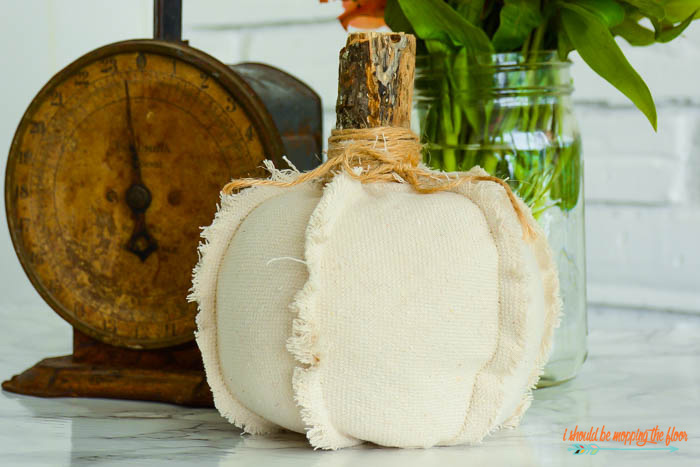
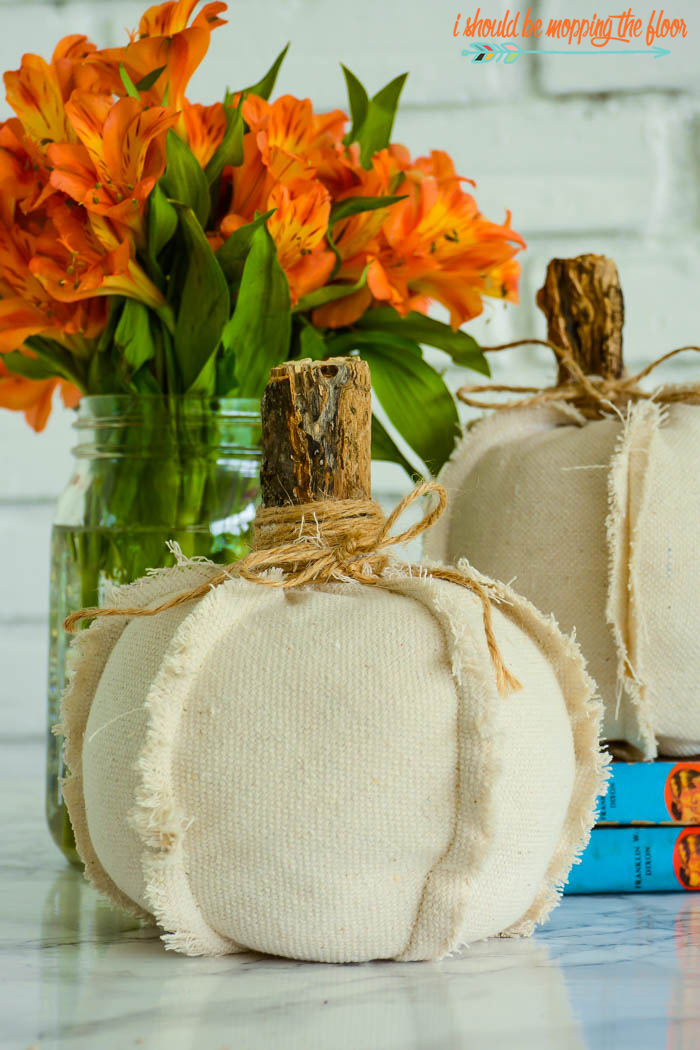
These easy fabric pumpkins have the sweetest frayed seam edges...giving them a vintage and rustic feel. They're the perfect beginning sewing project if you're just testing out your skills at the sewing machine. I even shared an option to use alternating fabrics for a whimsical look!
I recently saw some cute fabric pumpkins with outward seams (not frayed) at the craft store. They were cute, but I wanted to take it a step further. I couldn't find any tutorials anywhere for these, so I fiddled around and came up with my own.
Easy Fabric Pumpkins
I think fabric pumpkins addd so much nice texture and warmth to seasonal fall decor...plus, they don't rot by Nov. 2nd! See how simple it is to make your own.
Just to warn you...these easy fabric pumpkins are kind of addicting to make. They just use a simple, basic stitch. There is an option to hand sew the bottom, but I shared an even easier shortcut on the machine.
How to Make Easy Fabric Pumpkins
Not only are they easy to make...they're budget-friendly, too. I made mine from canvas drop cloths, only because they fray easily with minimal effort.
Supplies for Easy Fabric Pumpkins:
- canvas drop cloth (or leftover fabric scraps)
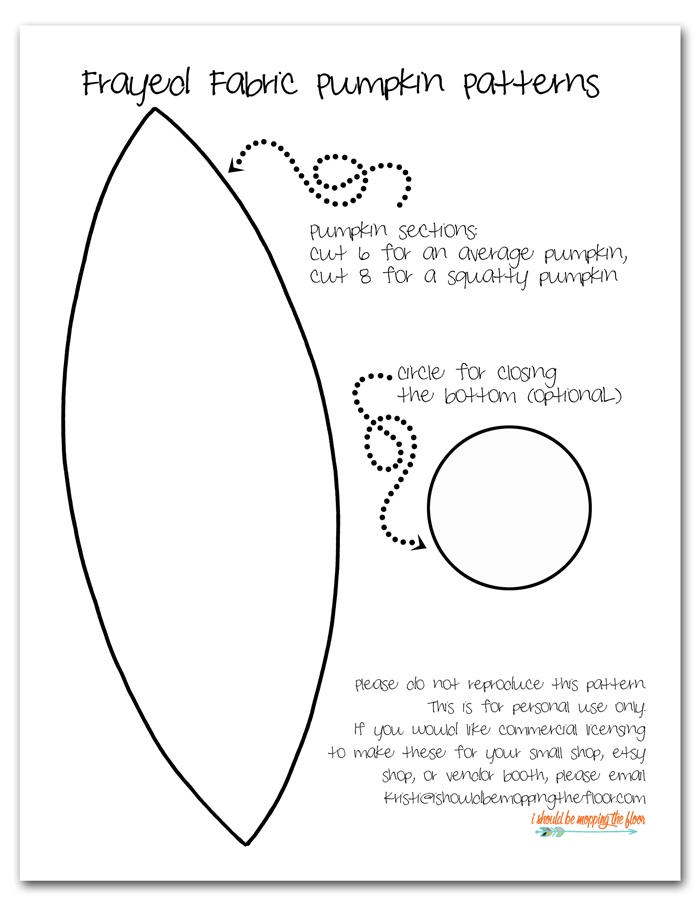
- pumpkin pattern (download it below for free)
- pins (sewing clips are helpful, too, but optional)
- erasable pens (I like these Frixion ones HERE)
- thread
- twine (I like to use this jute twine for added rustic texture)
- section of branch for stem (I used six-inch sections that we just cut right off our tree.)
- fiber fill
Also needed: sewing machine, scissors; (optional: needle to sew by hand)
Click here to download this free pattern.
The pumpkins seen in this tutorial used only six sections of the pattern. I included the circle pattern if you would rather use it for the bottom of your pumpkin instead of my easier method. The benefit would be that your pumpkin sits a little more level...to me it wasn't that big of a deal, so I did the quick method.
Directions for Fabric Pumpkins
- I'm sort of weird with patterns. I'm terrified my good fabric scissors will touch paper if I pin the paper pattern to the fabric and then cut. So, I trace with my pens and then cut (by the way: these FriXion pens erase with the steam of an iron...they're nifty!).
- If you're using the circle, you only need one per pumpkin.
- Just trace and cut it out of your fabric or drop cloth, too.
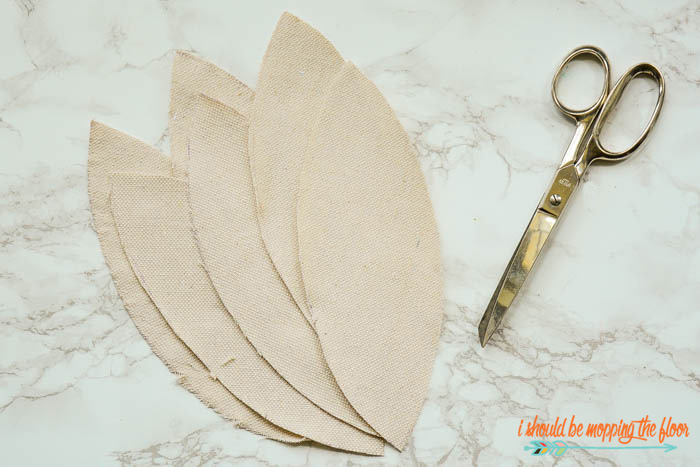
- Cut out all of your pumpkin sections out of your fabric. I used six. Eight would make a squattier pumpkin. I prefer even numbers of sections in case you do the patterned fabric pumpkins with different patterns alternating...it makes it come out evenly. I have a photo of one of those at the end of this post.
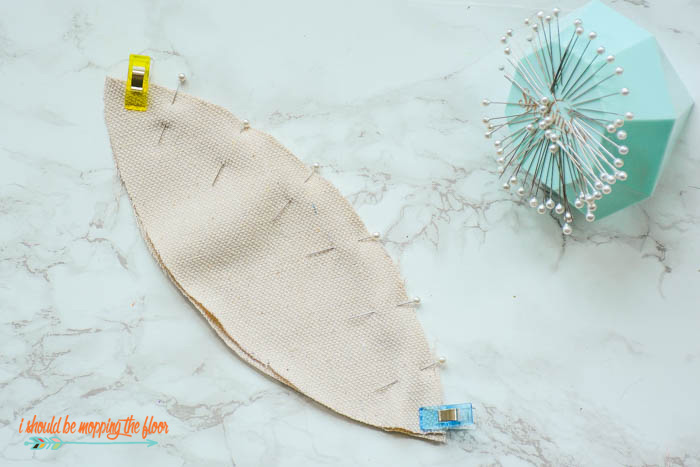
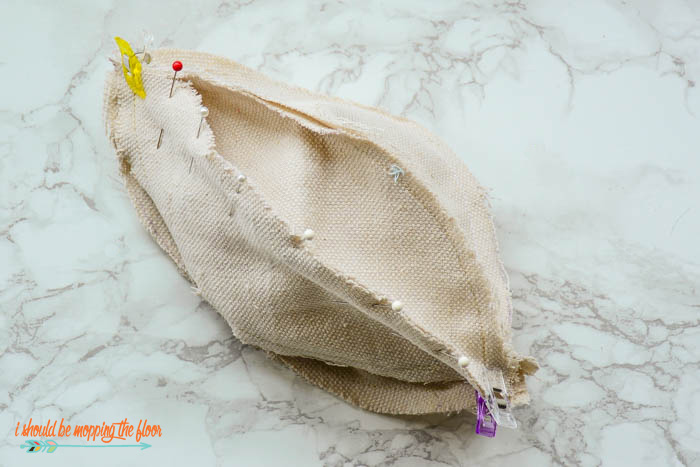
- You'll start by pinning one of the long sides of two sections together. If you're using a patterned fabric, you'll do the opposite of normal sewing logic and pin the WRONG sides together (since our seams are actually on the outside here).
- I put clips on each end of where the seam will be sewn.
- Your stitch needs to stop about an inch before the end of the piece...you need a bit of room at each end of the pumpkin where it isn't sewn together. This will help when you insert the fiber filling later.
- As you can see from the above photo, I start my stitching about an inch down from the top.
- Do a simple backstitch at both ends, too.
- You can see in the above photo how I started and stopped an inch shy of the edge on both ends.
- Ha...if you look closely at the above photo, you can see I managed to forget to change out my bobbin and had stark white thread on it. It doesn't show too badly on the end product, so no biggie.
- But, after the first two sections are sewn together, you'll start adding one section at a time...sewn onto the edge of the previously added section (with the one-inch margin on the ends on each piece).
- Pictured above are the first three sections sewn together.
- Keep those seams to the outside!
- After you add the final pumpkin section, you'll also join the other edge of it back onto the very first section (so you have the completed pumpkin body).
- After you've sewn all of the sections together, turn the piece inside out (it will look right side out, but remember, our seams are on the outside in this particular project).
- This is the short cut for the bottom: I just sewed a basic stitch along the bottom, catching all of the sections (it's not the tidiest, but once it is flipped right side out again, it won't even show...you don't even have to trim the excess ends).
- If you'd rather use the circle of fabric you cut from the pattern, you can hand sew it with the seam facing inward. I tried to have it have the outward frayed seams, too, but it looked a little too messy.
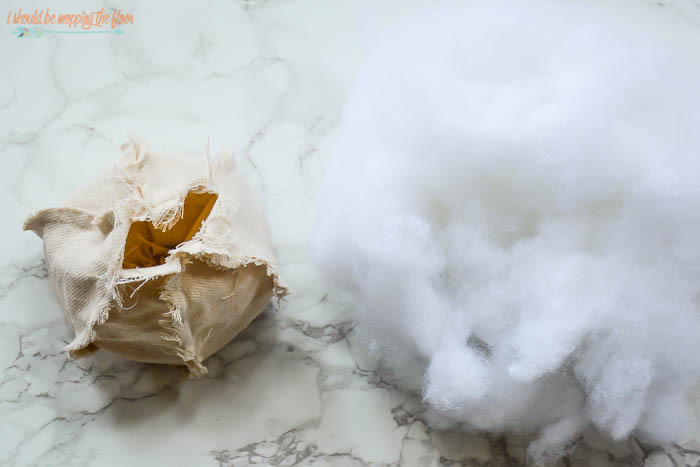
- Turn your piece right side out again (through the top now since the bottom is sewn).
- Stuff as much fiber fill as you can fit inside the pumpkin.
- Fill as full as possible, to get a nice, fat pumpkin!
- Work your branch down into the pumpkin, in the middle of the fiber fill. It will take a little finesse since the pumpkin is so full.
- Make sure all of your loose pumpkin section pieces of fabric are facing upward, against the stem.
- Gather all of those loose fabric ends and tie them up with one piece of twine, against the branch.
- You can trim any straggly pieces, so it's tidier.
- Take another (larger) piece of twine and wrap it around the base of the stem several times, to cover all of the fabric ends.
- Tie off in a bow.
- The drop cloth fabric frays really well on its own (you may need to give it a haircut!).
- If you use regular fabric, just use your fingernail along the seams to get them to fray...it also helps to open those seams, too.
And as I mentioned, above is how it looks with patterned fabric.
I love this look, too!
More Pumpkin Projects:
- I also put together this complete post with 25 Fabric Pumpkins. It's divided into no-sew, hand-sew, and machine sew varieties.
- And my simple tutorial for Toilet Paper Roll Pumpkins is a reader favorite. You probably have all of the supplies for this one on hand.
- I also have a simple tutorial on Painted Dollar Store Pumpkins if you're not in a fabric pumpkin mood.
- These Cinderella Fabric Pumpkins from Hearth and Vine are so lovely. I really like the colors she used in hers.
- And these Halloween Bandana Pumpkins from Sadie Seasongoods have been a favorite of mine for years now. So fun!











Now I like the frayed look of these pumpkins I need to get out some fabric and get going Thank you and God bless
ReplyDeleteThank you so much, Norma! Happy fraying! ;)
DeleteThese are really cute!
ReplyDeleteThank you so much, Kristina! xoxo
DeleteLove these! Thanks!
ReplyDeleteKristi,
ReplyDeleteHow big is the finished pumpkin?
Maureen
HI Maureen-- The stem is six inches tall, so the pumpkin itself sits about four inches tall...and maybe six inches deep. Hope this helps!
DeleteThese are great! My sewing skills are limited but this looks totally doable. Thanks for the pattern, Kristi!
ReplyDeleteThanks so much, Erin! You totally can do it! xoxo
DeleteYour version of the fabric pumpkin is so darn cute. And so easy to put together.
ReplyDeleteThank you so much, Debra! I really appreciate that. xoxo
DeleteHi Kristi, I did mine like that by hand with felt. I love how you did it on the machine! Happy fall. Thanks for sharing at the Inspiration Spotlight party @DearCreatives Pinned & sharing.
ReplyDeleteSo cute! I'm making some felt balls right now basically the exact same way. It never occurred to me to add a stem and make a pumpkin!
ReplyDeleteI love these Kristi!! Great tutorial too! I am pinning and you are my feature at our Creativity Unleashed party tonight!!
ReplyDeleteI dont have access to a printer. Could you give the dimensions of the pattern pieces please. These are so cute. Thanks
ReplyDeleteHi Kristi, Melissa from Polka Dot Chair just posted your wonderful pumpkin. I have a couple of questions:
ReplyDelete1. What is your seam allowance
2. Did you sew straight across the bottom seam? It looks like the pumpkin won't sit flat.
Thanks for your great idea of using a drop cloth. I love the rustic look!
Jan (Draper, Utah)