This Shabby Chic Banner post contains affiliate links. As an Amazon Affiliate, I make a small portion when these links are used, at no additional cost to you.
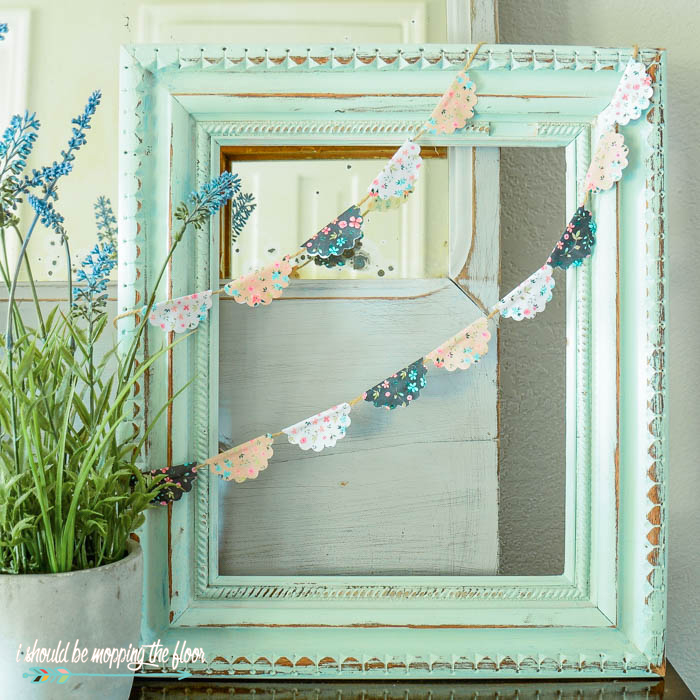
This little miniature scalloped banner has some endless possibilities, y'all. From cake toppers, to wreaths, to just draping it anywhere you please...it's a sweet one for sure. Download this free printable shabby chic banner below.
Man, I love a good frilly and feminine banner. I placed this in my entryway for photos (since I can get lots of good light with the front door open). I totally left it here since I liked it so much. You can make this banner with or without the scalloped edge...it's super versatile. Grab this free printable shabby chic banner below.
Shabby Chic Banner
This banner really packs a lot of pizzazz into a cute, miniature punch: frills, patterns, flirty-ness! It's all there.
As you can see from above, I alternated the colors on my own little shabby chic banner, but you can also just do a solid banner, if you prefer. You can also make this banner as long or as short as you desire...just print a few more copies of the printable for extra length.
How to Assemble Your Shabby Chic Banner
Supplies
- regular white paper (cardstock is actually too thick for the banner)
- To achieve that "frilly" look, you'll need a 2" scalloped craft punch. These are available at craft stores or here on Amazon.
- If you prefer, you can use a plain 2" circle punch (available here on Amazon), or just cut your circles out with regular scissors.
- craft glue
- jute twine for stringing up your banner (grab it here on Amazon)
- clothespins (I used mini clothespins): these are to keep the scallops closed while their glue is drying.
Directions
- I have found the easiest way to punch the circles is to cut strips out of the printout. Then I take my punch along the strip and pop out my scalloped circles.
- Just keep punching out circles until you get your desired number of circles for the length of banner you'd like.
- Cut a length of twine for you banner.
- Prefold the circles in half. Run your fingernail along the crease to "train" the paper to stay closed.
- Add a dab of glue on one side of your circle.
- Lay your twine in the middle of the fold (see the above image) and close the circle with your twine sitting in the fold.
- Just keep adding circles until you reach your desired length.
- Use clothespins (pictured above are the mini ones) or similar on the folded circles until the glue dries.
- Then just remove the clothespins and hang your banner(s) up.
- This banner also looks darling when you display several of them together, kind of draped over one another.
Download Your Banner Circles:
More Free Banner Printables
- If you love the look of this Shabby Chic Banner, I created an exact duplicate in fall colors (as pictured above). Be sure to check out this free printable Fall Mini Banner, as well.
- And my free printable Letter Banner is my most popular banner printable here on the blog. It has a Happy Birthday option, too.
- This Farmhouse Letter Banner from Less than Perfect Life of Bliss is another great letter-filled one.
- And this Printable Tropical Banner from Haute and Healthy Living is perfect for summertime decor or entertaining.
- This gorgeous Printable Botanical Banner from my sweet friend, Kim, over at Today's Creative Life, is truly lovely. She's using hers for spring, but I think I might leave this up year round!


cute!!!
ReplyDeleteThis comment has been removed by a blog administrator.
ReplyDeleteWhat a C U T E banner! -Marci @ Stone Cottage Adventures
ReplyDelete