This post for a DIY Industrial Light Fixture contains affiliate links. I make a small portion when these links are used, at no additional cost to you.
This DIY Industrial Light Fixture is the latest piece I've made for my son's room. It's a lot less expensive to DIY this vintage light, rather than purchase it ready-made. And absolutely no special skills are required for this one. I put it together in an hour, completely on my own.
I've been wanting one of these vintage DIY industrial light fixtures for awhile. We have the perfect spot in my son's room and it totally fits with his decor. You can purchase a pre-made fixture online, but this DIY version is less than half the cost. See all of my details on creating this piece below.
DIY Industrial Light Fixture
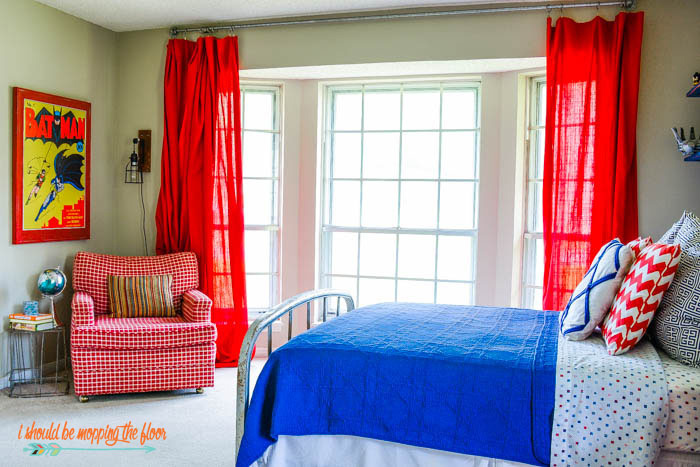
You can see in the above photo how well this new light fixture fits into our preteen son's bedroom. I love that it's also off of the floor...sometimes it's nice to not have one more thing to move around when dusting or vacuuming. And I think it's the perfect little addition to his reading corner. You can see how his entire room came together here.
We also created (and have a tutorial on) the plumbing pipe curtain rod that you see in this room (above), too. It worked so well that we made ones for four other rooms in our home, too.
How to Make a Vintage Light Fixture
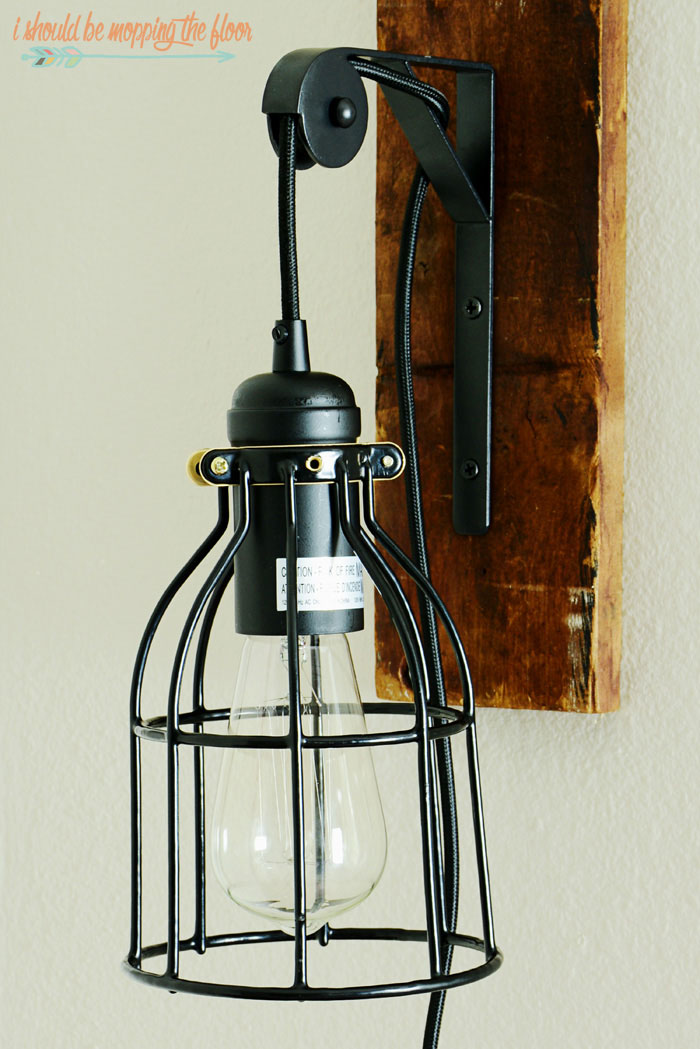
Isn't this just too fun? I love being able to see the quirky, vintage Edison bulb inside this industrial light fixture. It's the perfect little reading light in the corner of my kiddo's room.
Light Fixture Supplies
The main reason I decided to make my own fixture was the cost. When I priced these at lighting stores and online (as complete lights) they were way over $100 each. By piecing this together and building the light, I spent less than $40 (I grabbed everything on Amazon). Also, be sure to get the plug-in socket...no wiring!
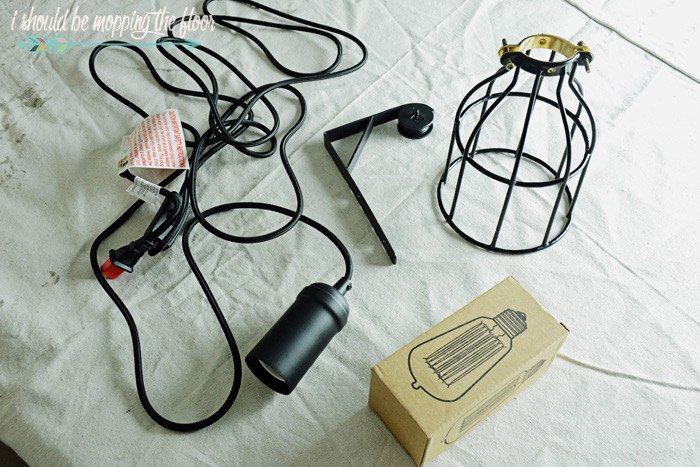
- Plug-In Hanging Socket Pendant Light (grab the one I used on Amazon here)
- Wall-Mount Pulley (grab the one I used on Amazon here)
- Vintage Light Cage (grab the one I used on Amazon here)
- Vintage Edison Bulb (grab a pack of these here on Amazon)
- scrap wood (optional, see below)
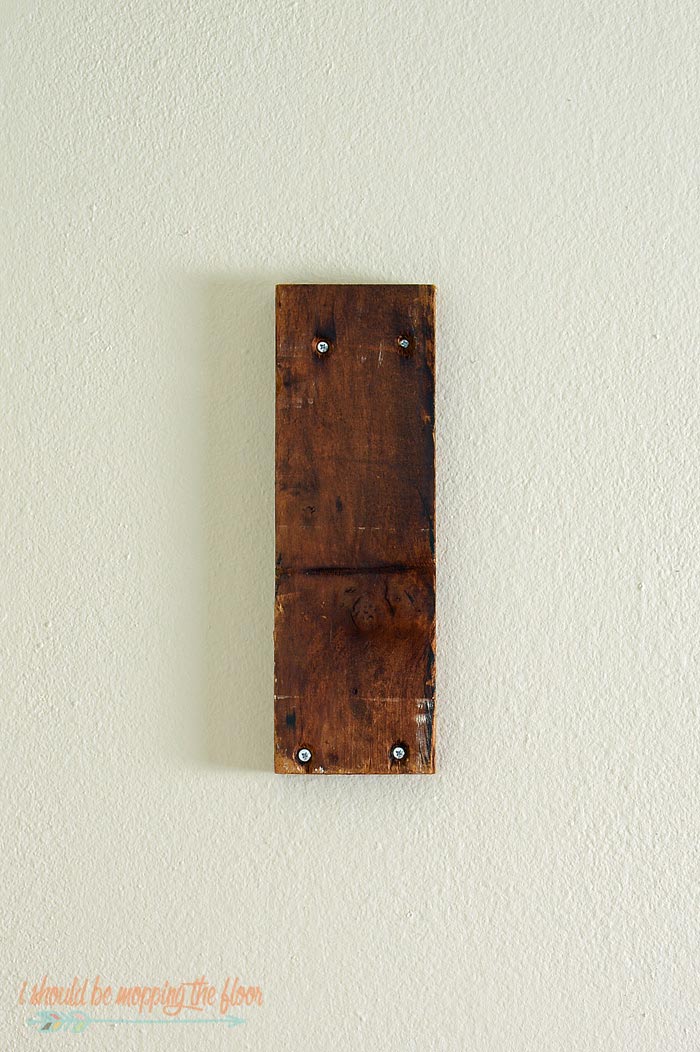
The only addition to the supplies was an old piece of wood I grabbed from my scrap pile. This piece is totally optional. I wanted to extend the light's reach just a bit more than the pulley's arm allowed, so adding an old board gave me another 3/4 of an inch or so. This board was ancient, too...I think it was off of an old piece of furniture. It already had nail holes, so I just used anchors and secured it to my wall in its existing holes...kind of works for this old vintage look. In the space I used, I didn't have a stud, so it was important to use wall anchors. This piece isn't too heavy or anything...but it's in a preteen boy's room. I'm sure he won't be nearly as gentle pulling the light up and down as his mom envisions him being. ;)
Installation Instructions
- If you're mounting the pulley directly to the wall, be sure to use the above mentioned wall anchors or secure to a stud.
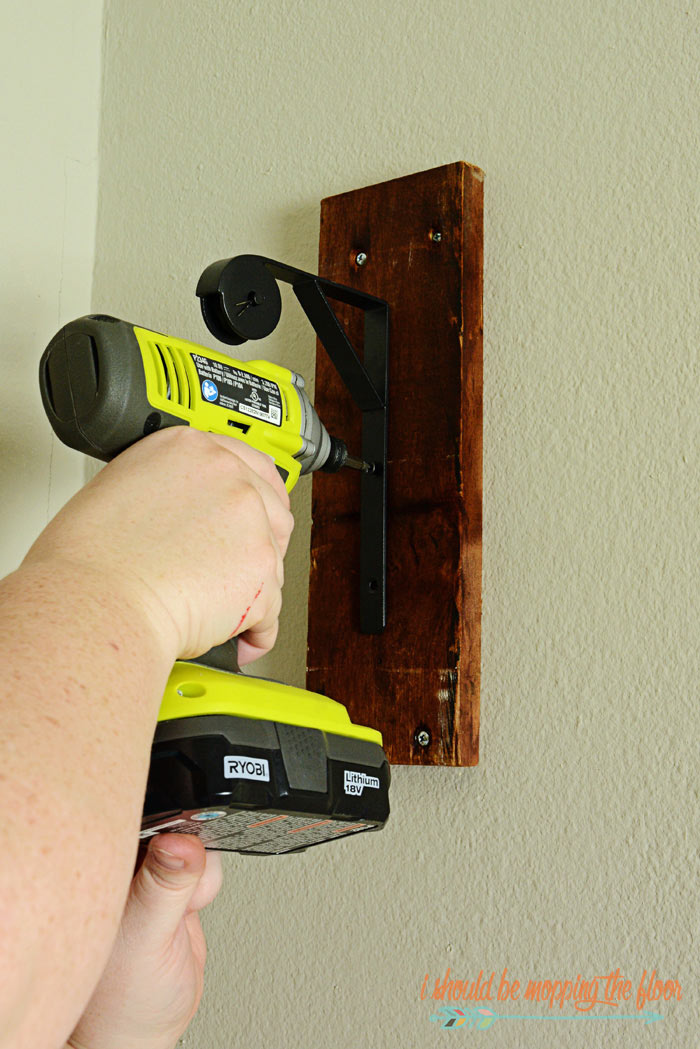
- Since I already used the scrap wood board secured with anchors, I was able to screw the pulley (it came with screws) straight to the board.
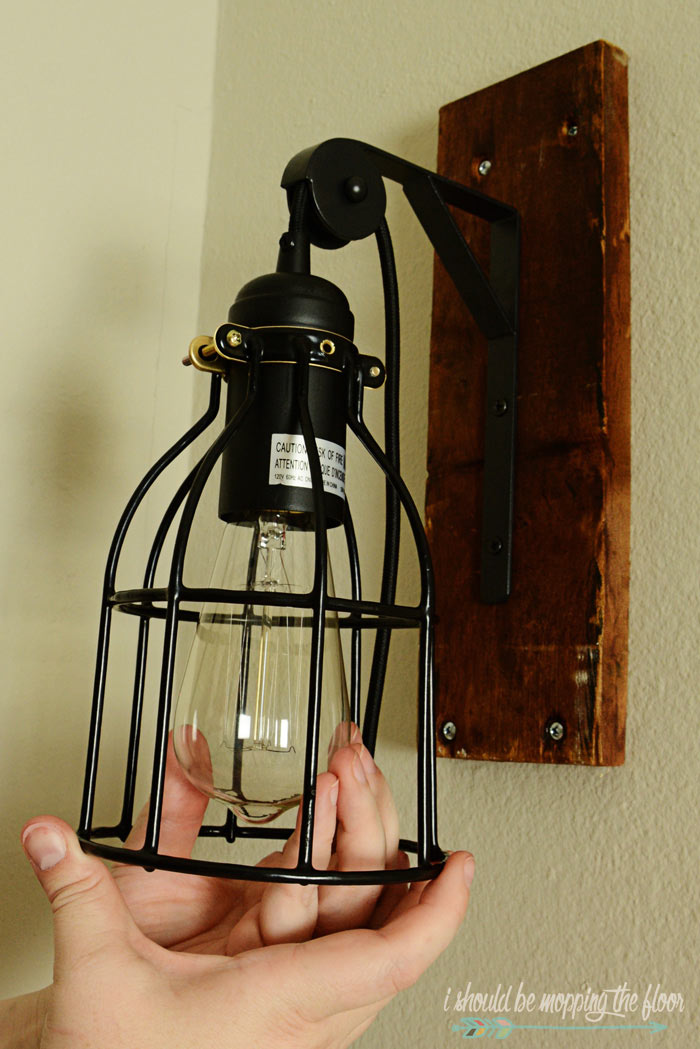
- Before hanging the pendent, attach the cage to it with the supplied screws that come with it. It's a tight fit, but it will go onto the light piece.
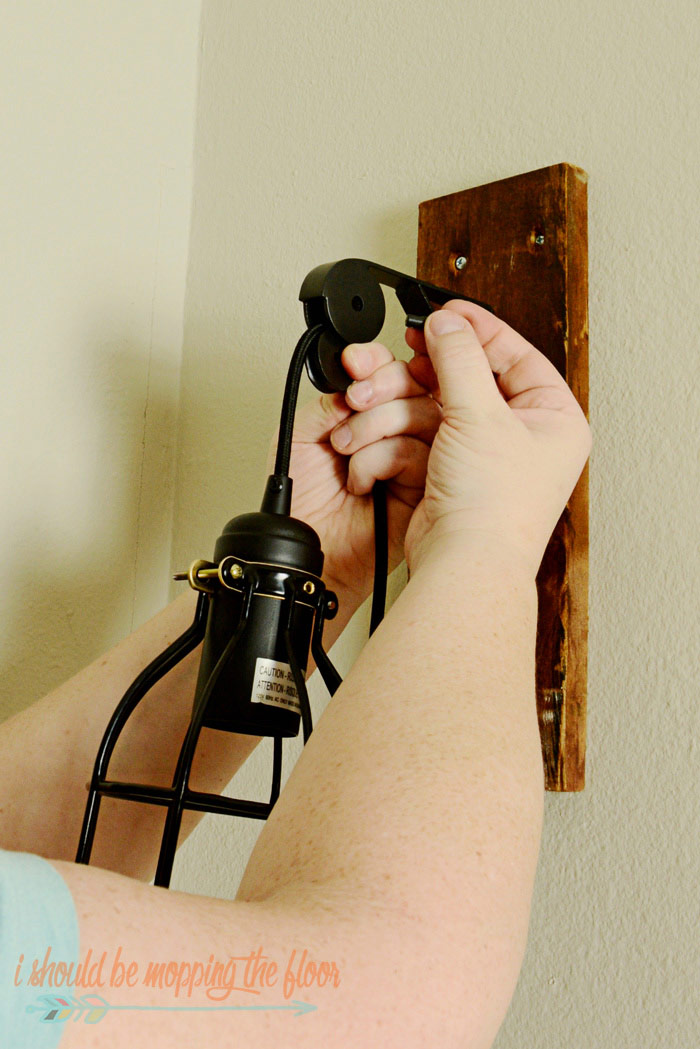
- Next, disassemble the pulley system (see detailed photo below) to insert the cord.
- I thought it would be easier to capture how the pulley mechanism works lying flat. The pulley has two pins (the smaller one actually holds the main pin in place).
- Pull out the little pin, then the main pin, and then the circular part of the pulley will pop out.
- Thread the rope over it and put it back in place with both pins secure again.
- Then insert your vintage bulb and plug it in to your nearest electrical socket.
- The cord is super long, so you should have enough to reach a socket...or to mount the fixture high on a wall!
As you can see in the above photo, there is a plastic clip that can be added to remove the "pull" feature and make the light more stationary. I took it out after photos, so my son has the ability to pull the lamp up and down, as he sees fit.
What do you think? I love making something for so much cheaper than buying the actual item.
More DIY Light Fixtures
- Be sure to also check out the DIY Light Fixture I made from a Dollar Tree Trash Can. It was the perfect addition to our laundry room.
- Just need a quick update and not an entirely new fixture? I did a tutorial on Painting Brass Fixtures with ORB Paint here that is very popular with my DIY readers.
- And I really like this DIY Wireless Basket Light from Wild Child Living. So Boho-Chic!
- This DIY Wine Cork Chandelier from Mox and Fodder would be so fun in a kitchen or breakfast nook. Such creativity!
- And Kaleidoscope Living has a lovely DIY Beaded Chandelier that anyone can put together.





Love this! And, as always, you give such great tutorials! Featuring this lovely fixture on Friday at our Best of the Weekend Party!
ReplyDeleteWhat an awesome idea! We are going for that industrial look in my sons room and this would be perfect!! =)
ReplyDelete