Layered Paint Mason Jars
These Layered Paint Mason Jars are the perfect way to add a bit of vintage fun to your decor. I did mine in fall colors, but the possibilities are endless!
Do you love the look of painted mason jars? I thought it would be fun to see if I could actually apply layers of paint to my jars, and then strategically take it off for a vintage and shabby look. Layered Paint Mason Jars are the perfect way to add a little color and texture to any space in your home. Check out the tutorial below>>>
Are these not super fun?!? I've loved the look of the painted mason jar that's become so popular...I just had to put my own spin on them by layering them up. While there's only two colors of paint used here, there's actually three layers of awesomesauce. And these layered paint mason jars were actually quite simple to make!
Start with a clean mason jar (or jars), two colors of paint (I used an acrylic and a metallic paint here...I didn't use chalk paint so the finish would be easier to distress), a foam brush, a medium-grit sanding block and an additional artist's paintbrush (not pictured).
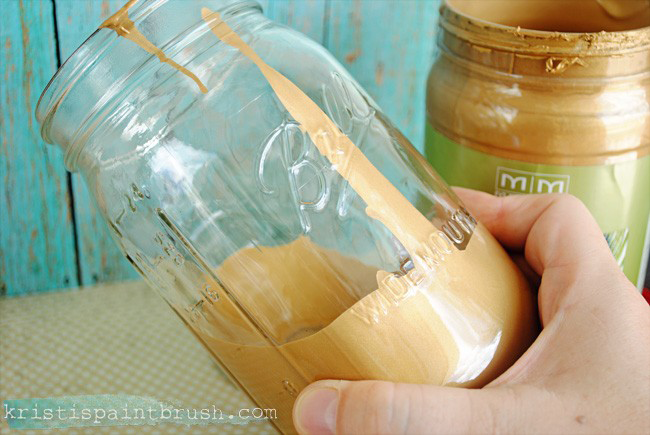
I started by pouring my metallic gold paint into the jar (I'm using my favorite Modern Masters paint here). I swirled the paint all over the inside of the jar to get complete coverage. Pour the excess paint back into the paint container. Turn jar upside down onto a paper plate and let all of the excess drip out overnight. The next day, set upright and allow to dry completely (this will take another 24 hours, at least). You don't actually have to wait for it to be completely dry...just be cautious as you handle the jar if the inside is still wet.
Paint two layers of acrylic paint on the outside of the jar. I let mine dry about an hour in between coats.
After the acrylic paint is dry, take a smaller brush and lightly brush on some gold streaks all over the outside of the jar. This doesn't require neatness...but be careful not to cover the acrylic completely...you'll still want some of it to show through.
Once that layer is dry, take your sanding block (or sand paper, if you prefer that) and distress the paint on the outside of the jar. In some areas, I just pulled off that top metallic layer, in others, I sanded all the way down to the glass. This is a fun time to get creative! I didn't seal mine...I figured if they get a little scraped or dinged, it will just add to their shabby look.
I just love how you can see all the way to that inside coat of paint. I think it gives these jars a lot of fun dimension.
What do you think? Is this something you'd try?
Neglect your chores like me and don't miss a thing:


These are great..I love the colors and the layers! Such a pretty fall decor item too:) Love!
ReplyDeleteSuch a great idea! I love the orange and gold combination.
ReplyDeleteThey are beautiful! Great fall project to do with my teenage daughter!
ReplyDeleteThank you! <3 <3 <3
Delete