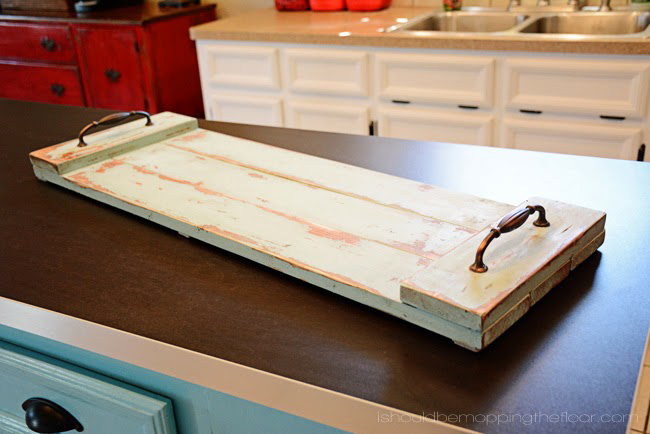
This easy-to-make DIY farmhouse serving tray has been on my to-do list for a while. Glad it's now on the Ta-Da list! See below for the complete step-by-step directions. It's a quick project that any level of DIY-er can tackle.
Farmhouse Serving Tray
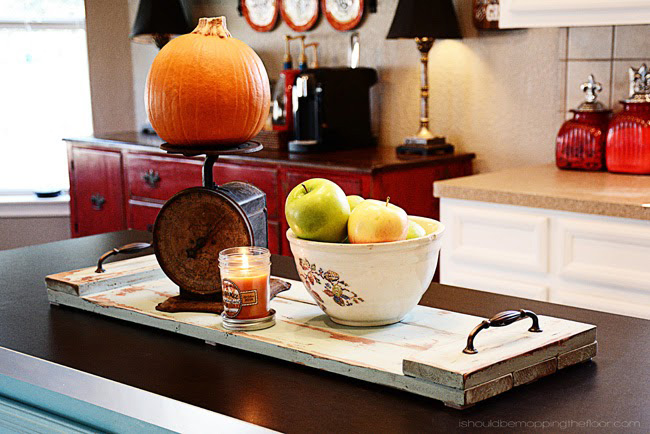
A friend of mine has a similar one on her island that she bought at a craft show. I loved the rustic, shabby design. And it was a really simple project (making me wonder why I took so long?). I did it 100% by myself in a little over two hours.
Also, this tray is just as functional as it is decorative. It works perfectly to carry a plate of food (breakfast in bed, anyone?) or serve a few nibbles and bites at a party (on a plate, not directly on the surface).
I love seeing my old scale on display. And the bowl was my great grandmother's.
Farmhouse Serving Tray Directions
Supplies
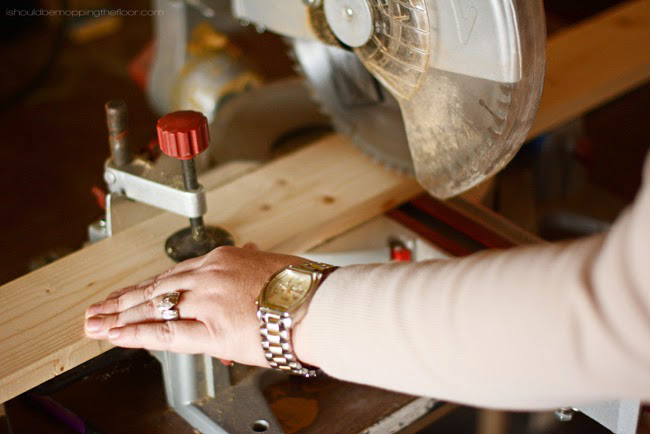
I used two 1"x4"x6' boards for my tray, cut into the five pieces. Each board was less than $3 each. I splurged and bought $6 handles, but my total was still under $20 for the entire project.- You'll need five cut pieces of wood for this...the length will depend on how long you'd like your tray. Mine was a bit longer at 34", but I also plan to use it as a centerpiece on my Thanksgiving table this year...filled with candles! Plus, my island is fairly long...I wanted this thing to take up some real estate on it
- The two end boards (that hold all of it together) were cut at a foot each...so the three long boards would fit flush along it.
- screws (not longer than the depth of your boards)
- 2 cabinet handles
- sand paper
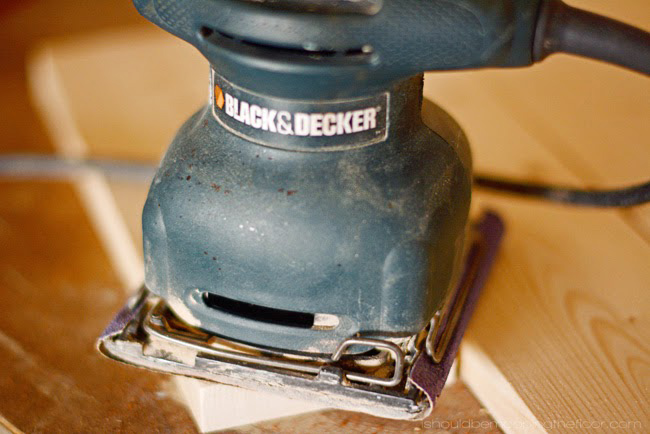
- sander (optional, but I can't live without mine...I use a much older version of this Black and Decker sander here on Amazon)
- paint
- clamps
- felt squares (optional, but nice for protecting surfaces...I use these from Amazon)
- You'll also need a drill and appropriate drill bits to coordinate with your screws.
Directions
- After cutting my boards, I gave them a good sanding.
- The only *slightly* tricky part of this project is the handles.
- You'll attach them to your end pieces before attaching all of the boards to your end pieces.
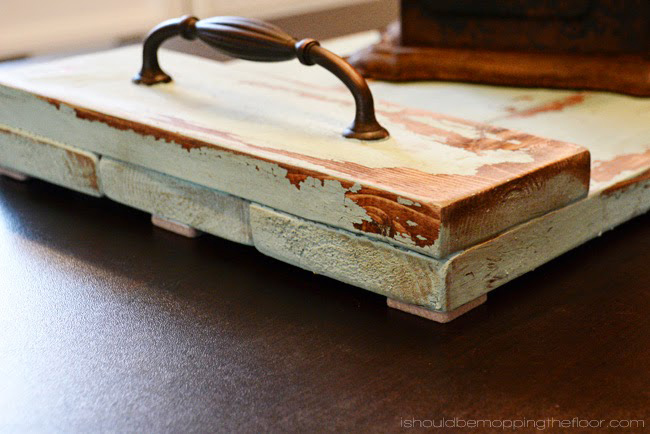
- I sunk my screws in by pre-drilling a hole for the actual screw. Then, I used a larger drill bit (making sure it was larger than the screw head) and drilled just the top portion of the wood out, so the screw head would sink down and not cause the wood pieces to sit unevenly. You can see how it looks in the image above.
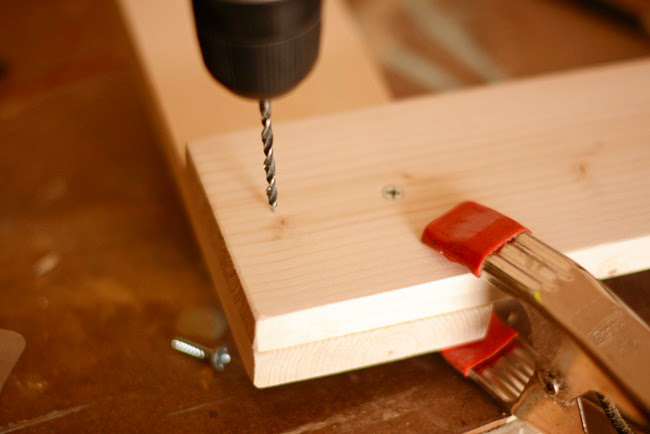
- I clamped my boards together, pre-drilled holes (as not to split any of the wood), and attached the longer boards, side-by-side, to the end boards with two screws on each end.
- After everything was attached, I painted it and gave it a chippy finish with some milk paint that I had on hand. You can see one of my favorite recipes and methods for chippy paint here.
- And as you can see in the above photo, I attached the felt squares to the bottom. It makes it easy to move around the island top without scratching the surface.
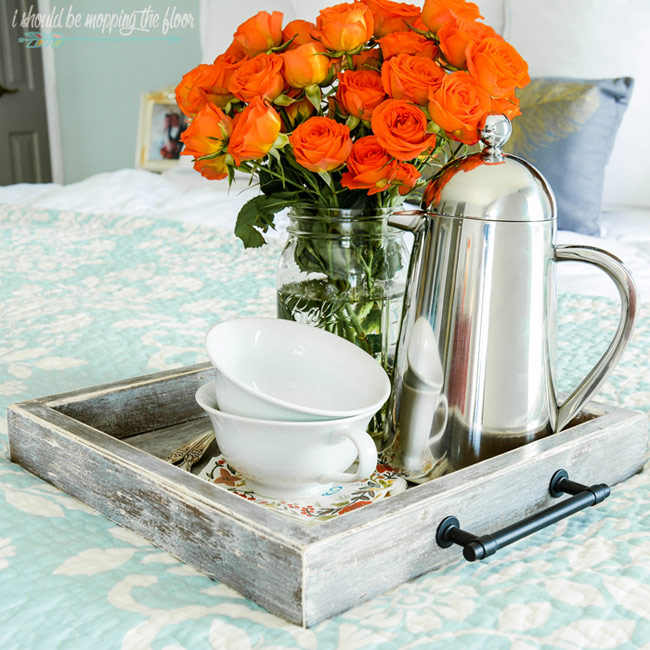
- I also have a tutorial for the, above pictured, DIY Coffee Tray from a Wooden Artist Canvas. This tray is super simple, but adorable for just about all of your tray needs.
- And if you're a bath person, be sure to check out my DIY Bath Tray, as well. It's perfect for holding all of your tub-time accoutrements.
- This Ikea Cabinet Door Serving Tray from Chas' Crazy Creations is another great DIY Tray! So creative.
- And I love this round wooden serving tray from Run to Radiance. It's a budget-friendly one, too.
- This Glass Tile Serving Tray from The Happy Housewife is a really unique one! There are a lot of options on the style of this one.




I love that, it's so cute and rustic!
ReplyDeleteThanks so much, Aubrey!
DeleteSuper cute tray!
ReplyDeleteThank you, Maryann! It is so easy to make!
DeleteLove this, Kristi! I may have to make one for myself. Your kitchen is gorgeous, by the way.
ReplyDeleteThank you so much, Sarah!
DeleteOooh, I need one! It's so cute! Great job!
ReplyDeleteRebekah @ Charming Imperfections
Thank you, Rebekah! It is really easy to make!
Delete