This post for a DIY Bulletin Board contains affiliate links. I make a small portion when these links are used, at no additional cost to you.
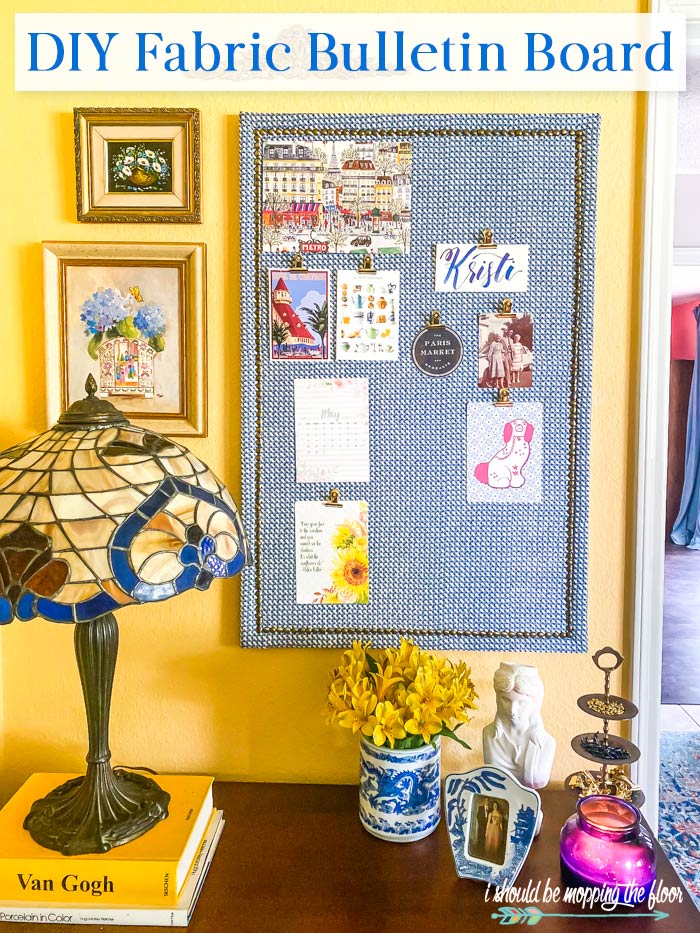
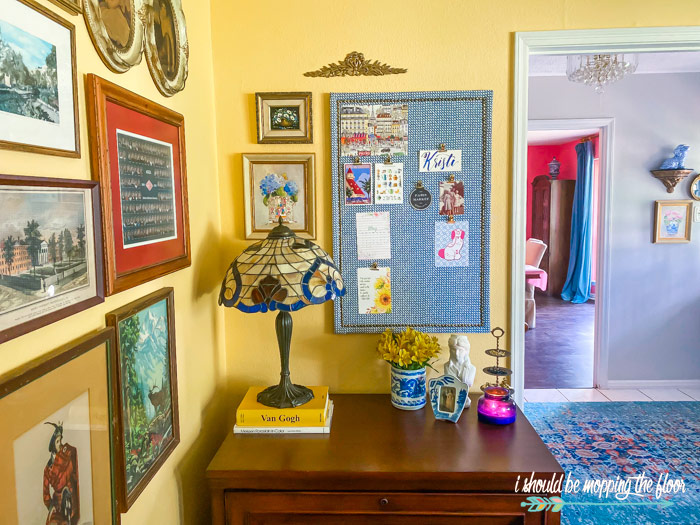
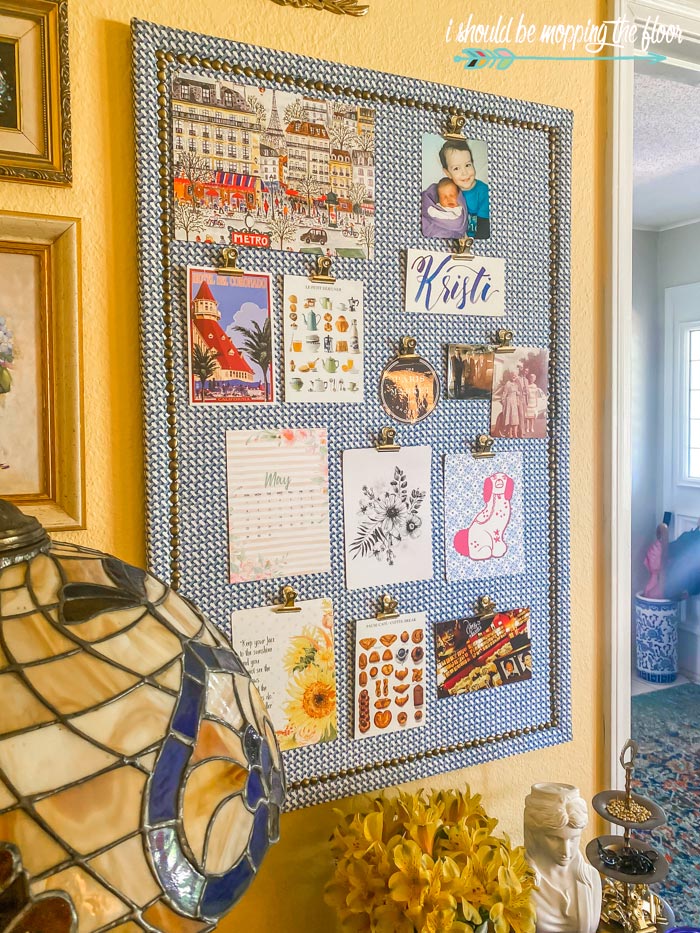
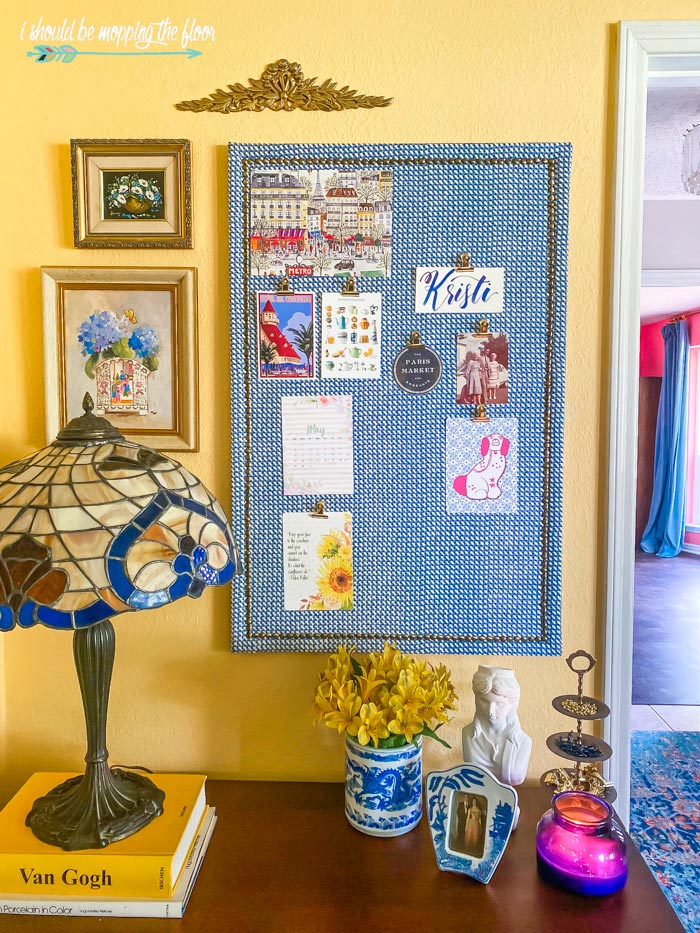
I'm really enjoying this new DIY Bulletin Board I added to my office. My previous ones were a lot smaller and had stuff hanging over the edges. Plus, the fabric on this one really makes me happy and kind of completes this little corner. This new piece was also super budget-friendly. See how to make your own DIY Bulletin Board below.
I'm not sure other adults are as enamored as I am with having a bulletin board, but I've always enjoyed keeping one. While it's probably more of a kid thing, I still love visually seeing special keepsakes, reminders, calendars, and printables on a regular basis. See how I put this new one together below.
Today is also our monthly Thrifty Style Team day. All of my blogger friends have created some seriously lovely projects this month. I've listed them all out at the end of today's post.
DIY Bulletin Board with Nailhead Trim
I think nailhead trim can pretty much fancy up anything...even a thrift store bulletin board. Plus, it's really easy to use. This space in my office is where I love to tack up special photos and mementos, as well as encouraging pieces (and printables!). I think the fabric and brass nail heads make this DIY bulletin board blend perfectly with the rest of the decor in this space.
How to Make a DIY Bulletin Board
So my piece actually started its life as a bulletin board, too. It belonged to, I assume, Estelle. If you don't have a bulletin board to start with, a larger board can work, if you attach cork or cork squares to it. Just leave a bit of border for the nailhead trim.
But, I actually see old bulletin boards all the time at thrift stores...which is where I picked up this gem of Estelle's. It was less than $5.
While I didn't include it as a part of the tutorial below, I popped off the bedazzley gem things with a paint scraper in about five seconds flat.
Supplies
- old bulletin board
- You can also use something along the lines of what I described above.
- fabric
- You'll need enough to cover your board with several inches of border to pull to the back.
- glue gun
- hot glue
- nailhead trim strips
- hammer
- scissors
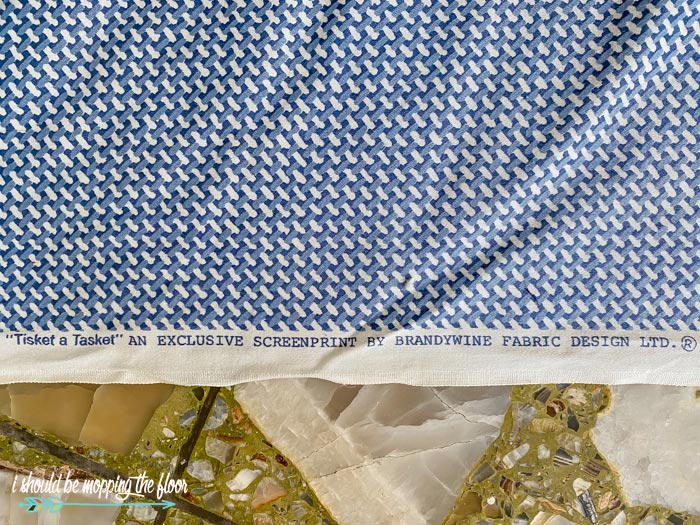
I actually got my HUGE roll of fabric from an estate sale a couple of years ago (it's over 20 yards). I spied it on the first day of the sale at $12. I waited until the last day and it was still there at 75% off! As you can see from above, it's a blue and white basket weave pattern called "Tisket a Tasket" from Brandywine Fabric. I still have loads of it left, even after the bulletin board.
Directions
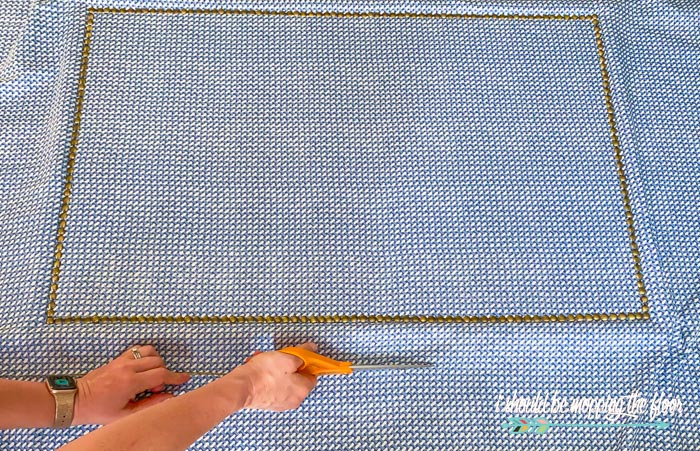
- Start by laying out the fabric on top of the board, with several inches of fabric on the outside of the board.
- Make sure the fabric is pulled as taught as possible.
- If using the same style of bulletin board that I am, you'll need to feel on top of the fabric where the wooden frame of the bulletin board is. This is where your nailhead trim will sit, just inside of that frame.
- Lay out one piece of the trim on one side, starting in a corner.
This trim is such a timesaver! It has small holes every fifth nail head and then you just pop one of the "real" ones in that hole. Again, grab this same trim here on Amazon.
- Gently hammer the nail head into place.
- Keep going until all of the "hole" pieces are filled.
- Then add additional strips as you go, working your way around the entire board, repeating the same nail head process.
- Keep the fabric as taught as possible as you work your way around.
- The trim I used didn't require anything fancy to cut it.
- Just bend it back and forth a few times and the excess pops off.
- After all of the nailhead trim is in place, cut your fabric to be about 3-4 inches outside of the frame.
- Turn the entire board over, so you can pull your fabric around to the backside.
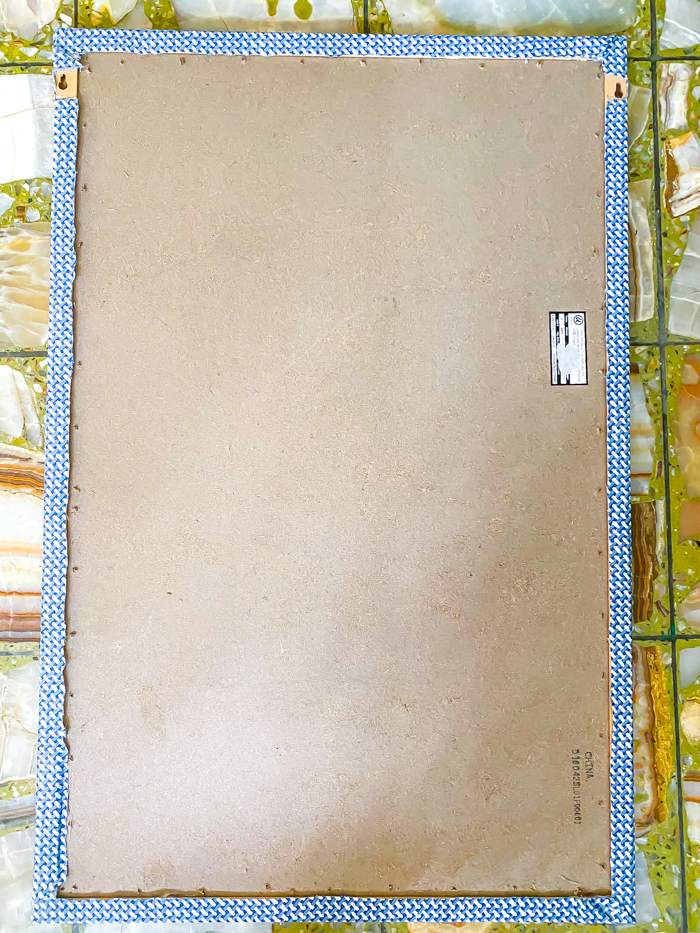
- In the above photo, you can see that my nail heads actually poked through the board. It didn't matter since they barely poked through, and still weren't beyond the frame of my piece (so they won't scratch the wall). But, if yours poke through too much, you can use a flat head screw driver to bend them flat.
- Pull your fabric around and use a generous amount of hot glue to adhere it to the frame on the back of the board. Keep pulling it taught to avoid wrinkles.
- I treated the corners kind of like wrapping a present (as you can see from above).
- Continue the process of gluing the fabric to the back of the frame around the entire board.
- I notched out the fabric in the spots where the board is designed to hang (as you can see in the above photo).
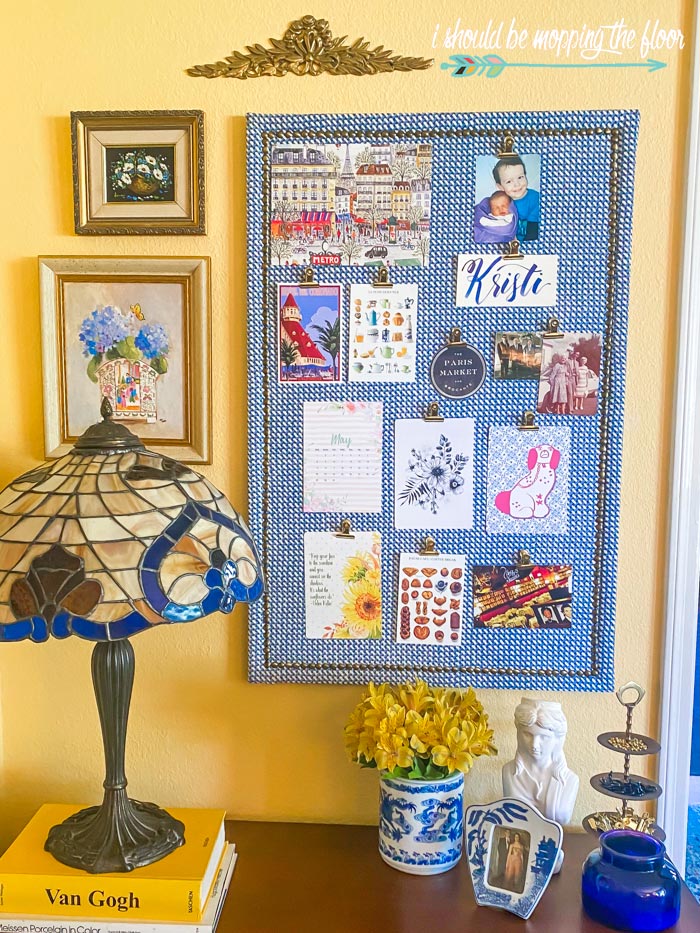
I'm really happy with how it turned out. It's a great little spot for all of my goodies on my office wall.
Printables on My Board:
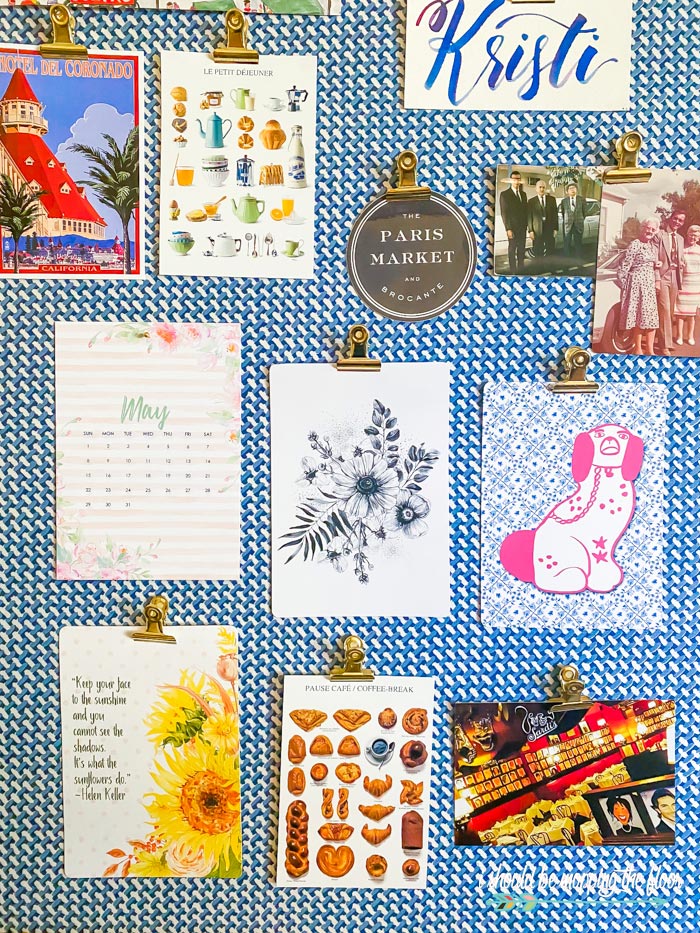
Several pieces on the board are my own printables, which I've listed out below for you.
Bulletin Board Accoutrements
I have a little three-tiered brass stand by my bulletin board that holds all of my hooks, pins, and clips. It was from another estate sale and it's such a great little organizational tool. But I always love to share how much I LOVE the "clip thumb tacks" that you see on the bottom tier. They allow me to pin things to my board without a hole. They're AWESOME.
Are you a bulletin board person, too?
Thrifty Style Team
As I mentioned earlier, today is also everyone's favorite day of the month: Thrifty Style Team Day! All of my friends are also sharing some wonderfully budget-friendly projects. I've listed them all out below:- Redhead Can Decorate - Milk Glass Fruit & Cheese Appetizer Tower
- Our Crafty Mom - Bicycle Tire Sunflower Wreath
- The How to Home - Shabby Chic Decoupage Plant Pot
- DIY Beautify - Update Older Exterior Windows with Spray Paint
- 2 Bees in a Pod - Antique French Hat Boxes
- Postcards From the Ridge - How to Decorate on a Budget
- The Tattered Pew - How to Create a Simple Hat Wall with Hooks
- Cottage on Bunker Hill - How to Press Flowers in the Microwave
- Vinyet Etc. - Transform a Vintage Frame into an Antique Mirror
- Amy Sadler Designs - How to Paint Flower Pots for the Porch
- Songbird - How to Make Lace Napkin Rings Tutorial











I love how nailhead trim elevates the look of the bulletin board! Such a great look ;)
ReplyDeleteI am really wondering who Estelle is, lol! This is brilliant, Kristi...and I absolutely love the idea to have tiered tray below it with supplies. I don't have an office RN, but I really want one again!! XO
ReplyDeleteNow I want to add nail head trim to everything!!!!
ReplyDeleteIt's such a great way to update a bulletin board, I LOVE those gold clips.
ReplyDeleteKristi - this board is beautiful! Your fabric choice is gorgeous and the nailhead trim takes it to the next level!
ReplyDeleteKristi, your bulletin board is gorgeous. Love the nail head trim. I can't believe you got all of that beautiful fabric for such a bargain. Pinned!
ReplyDeleteI love how this turned out, Kristi! That nail head trim is awesome, I've never seen anything like it. I love bulletin boards, too. I just hope Estelle doesn't want it back now.
ReplyDeleteThis is awesome and it turned out so great! Thanks for the inspiration!
ReplyDelete