Below I'm sharing an easy tutorial on how to create a simple chalkboard printable.
One question that I get asked more than any..."how do I create a chalkboard printable?" I thought it would be fun to do a tutorial over this...and to tell you where I get a lot of the art work I use for printables.
When I make a printable, I use pieces that I "cut" and rework to fit the printable I'm creating. Below are some of the chalk pieces I've used...and some I've just downloaded for future use. You can get all of them for free right now at GraphicStock here {details below}.I've been going crazy with my own free trial on GraphicStock...downloading goodies left and right. You can grab one, too, below. AND: I'm giving away an entire free year-long membership to GraphicStock, too, at the end of this post.
Most people don’t know where to go to get images, and if you’re using google to grab images, you may be running into copyright issues. GraphicStock solves all those needs by giving you royalty free access to their vast library.
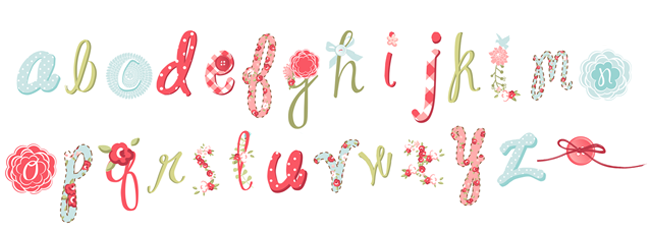
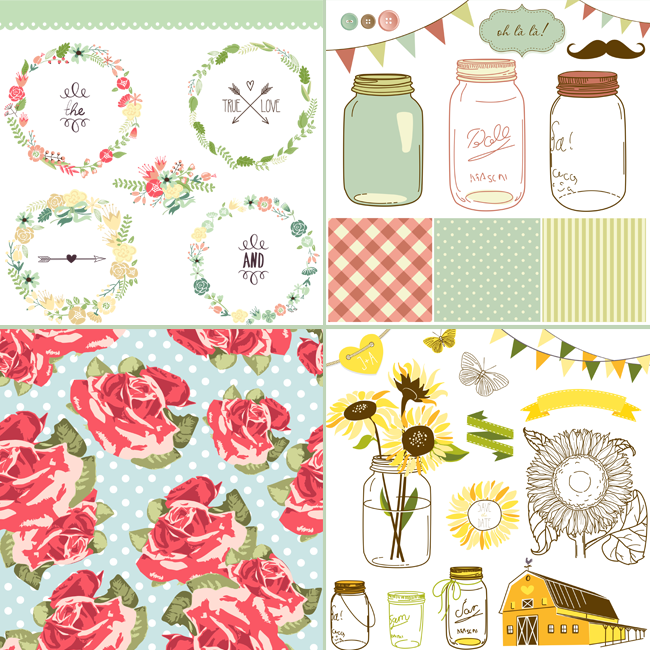
Check out these other pretty free downloads I grabbed {click on images to be taken to GraphicStock to grab your own downloads of these}:

I think the above alphabet would be darling in a nursery!
Or all of these fun vintage ones, above? Aren't they presh?!
And, of course, you know I love a good label.
All of these above are at GraphicStock.
For the below chalkboard printable, I grabbed a free chalkboard background at GraphicStock.
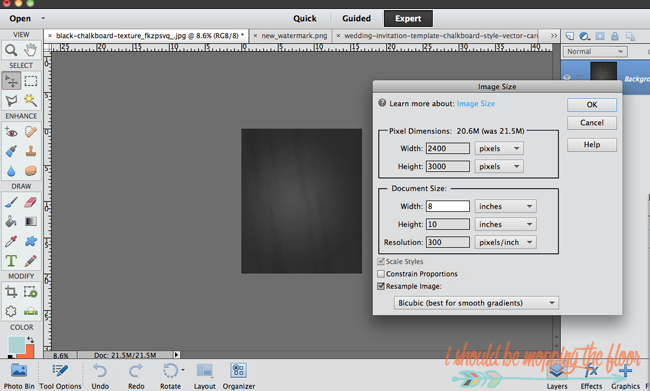
For this tutorial, I'm showing how to create this printable in Photoshop Elements. I use both Photoshop and Photoshop Elements for printables...but honestly, Elements is a lot more user-friendly for everyone. This tutorial can easily translate for Photoshop, too. I start by resizing my chalkboard background to an 8x10 size. I keep the resolution at 300 so it stays high res...you'll want to keep it that way for printing. Keeping it high res will reduce any graininess and keep the art true to its design.Next, I simultaneously open a fun set of chalk arrows that I found on GraphicStock.
Click here for over 250,000 graphic options like this.
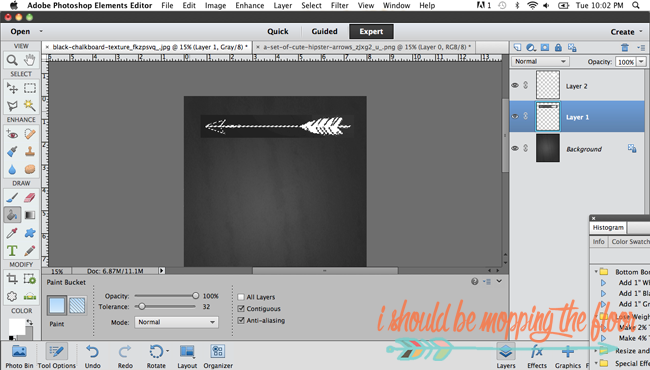
I use the Polygonal Lasso tool to outline the arrow I'd like to use. Once releasing the mouse, the moving marquee will appear around my selection. I take my mouse and drag the arrow over to the blank chalkboard.
I bring the chalkboard by itself to the front. I create a second layer. Returning to the arrow layer, I use the Magic Wand Tool to select the white part of the layer {you can see some of the black background from the other layer made the trip over with its arrow}. Once the white is selected, I switch back to layer two and use the Paint Bucket Tool to pour white into the selected area onto layer two...creating a clean arrow with no extra background. Then I simply turn off layer one {you can also delete it if you prefer}. Then, I duplicate the arrow and give it a 180 degree turn...so I have a second arrow facing the opposite way.
On this printable, I created each line of text on its own layer. Then I was able to manipulate their sizes separately. I wanted them all to be the same width, but not the same height...so I just pulled them to where I needed them. I love to use "chalky" fonts like this one, called Sketch Serif. A lot of fonts like these are out there on the interwebs for free, y'all! Just check any terms of use that come with them.
Select all of the layers, except the background and click Layer>>>Merge Layers.
Now all of the white chalk items are on one layer.
Duplicate the chalk items layer. Click on the "bottom" layer and click Filter>>>Blur>>>Motion Blur. Then bump up the Motion Blue to 140. It will look like a mess, y'all. That's okay. You're about to fix that in the next step. We're blurring this step to give the chalkboard a realistic effect...a "ghost image" that is common with real chalkboards.
Go to the blurred layer and knock it back to 20%.
Ta-Da! You'll just need to flatten this under the Layer heading.
I like to create a new document in a letter size and drag the flattened image to it. Then I flatten that one {you'll see a white border in that one} for printing purposes.
So, what do you think? Is this something you'd like to tackle?
There are so many pieces at GraphicStock to work with!
And you can get them all for free for a week here.
Be sure to enter to win a 1-year complimentary access to GraphicStock (valued at $588) by:
1. Signing up for the 7-day free trial
2. Either create a project or come back and comment on what you think of GraphicStock.
3. If you do create a project, let me know what you make in the comments below.
2. Either create a project or come back and comment on what you think of GraphicStock.
3. If you do create a project, let me know what you make in the comments below.
One winner will be selected at the end of the month.
AND, I even got all of the cute wood backgrounds you see in this post on my free GraphicStock trial. Click here to start yours.
Thank you so much to GraphicStock for sponsoring this post! They've helped my graphics library grow quite a bit this week! :)
Neglect your chores like me and don't miss a thing:


Hi Kristi, Thank you for this great tutorial and information - I'll checkinto the graphic stock site and share your info - :)
ReplyDeleteAn entire free year! That's awesome! These printables are all so cute!! I love them!
ReplyDeleteThat's an awesome giveaway! I have a subscription right now, but haven't used anything more than regular images. Guess I need to investigate getting Photoshop elements so I can do more with it.
ReplyDeleteThanks for the printables. I love them!
ReplyDeleteThis is great! Did you get the chalkboard background from GraphicStock, too?
ReplyDeleteI can't wait to start my free membership!
I sure did!! :)
Delete