This post for Hand-Lettered Chalkboard Designs contains affiliate links. I make a small percentage when these links are used, with no additional cost to you.
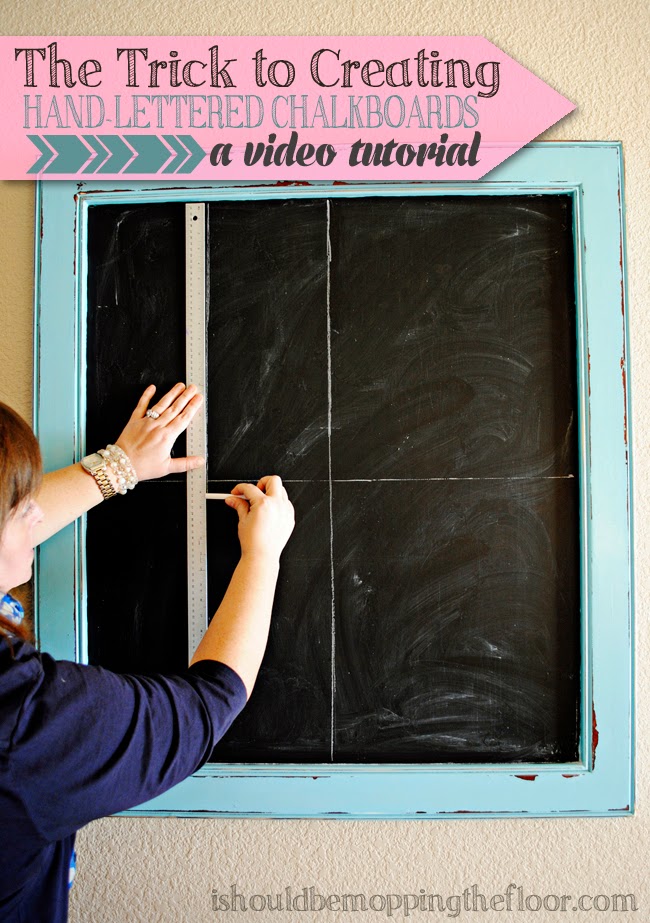
Want to learn the trick to creating hand-lettered chalkboard designs? My video below will walk you through step-by-step to giving your boards that professional touch.

Hand-Lettered Chalkboard Designs

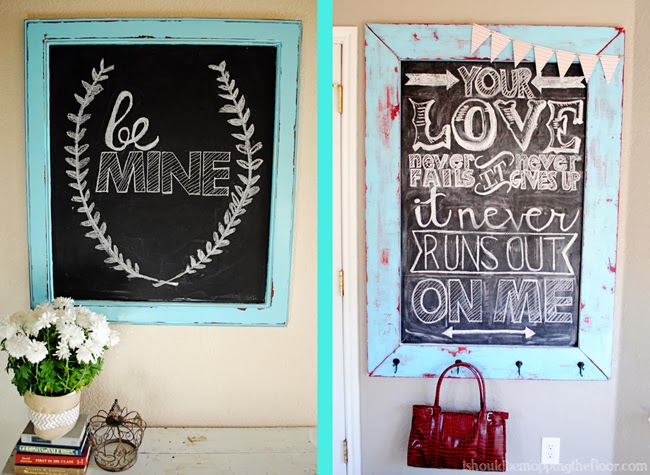
Last week, over on Ring Around the Rosies, I walked you through creating the chalkboard on the right. I'm doing the same method today, with the one on the left...but this time in video form {gah!}.
In the method below, I'm demonstrating an old artists' trick: The Grid Method (see, Mom, those three and a half years as an art major, before I totally switched plans, did pay off). If you'd like to use this template to create the board like I did in the video below, feel free to download it. Personal use only.
How to Create Your Chalkboard Design:
If you'd like to skip the process of creating the template in the above video, feel free to forward to 4:37 where we pick up on the actual chalkboard.
And click here for a free printable version of this particular design. It's a bit less messy (wink).


Kristi - Awesome tutorial I have a chalkboard I need to do this week and this helped a lot!
ReplyDeleteI love what you are doing. I did have a bit of trouble following the tutorial as your Photoshop Elements 10 looks a bit different than mine. Are you on a Mac? I'm on a PC and I could not figure out how to draw the lines so they would print. Any suggestions? I'm not that familiar with my PSE 10, so it is probably just me! Thank you for the great inspiration!
ReplyDeleteThis is actually Photoshop 11, and yes, I do use a Mac. You will just use your Pencil Tool to draw a line. To keep it straight, hold shift while drawing it. Create it in its own layer so you can manipulate it and move it around. Once you've created both a horizontal and vertical line, you can just duplicate the layer over and over and drag them to where you'd like them to go. Hope this helps! Thanks for stopping by, Lois! :)
DeleteSorry...not Photoshop 11, rather Photoshop Elements 11. :)
DeleteOh MY!! I am loving this!! This will help me SO much!! Thanks for the perfect tutorial Kristi. It felt like you were sitting here teaching me.
ReplyDeleteThanks friend. Pinned :)
Such a great tutorial and I love the result. Thanks for sharing!
ReplyDeleteThanks for your tutorial and your chalkboards look great! Pinning!!
ReplyDeletegreat tutorial!
ReplyDeleteLoved hearing your voice girl…you're so cute! …and very talented!
ReplyDeleteThis comment has been removed by the author.
ReplyDelete